
Table of Contents
Woodturning Christmas ornaments adds a personal touch to holiday decorations. These handcrafted pieces can become cherished family heirlooms.
Woodturning involves using a lathe to create beautifully shaped wooden objects. For Christmas, this craft becomes even more special as you can design custom ornaments. From simple round shapes to intricate designs, the possibilities are endless. These ornaments can be painted, stained, or left natural to showcase the wood’s grain.
Beginners and experienced woodturners alike can enjoy this creative process. Making your own Christmas ornaments allows you to add a unique flair to your holiday decor. It also makes for a thoughtful and personalized gift. Woodturning Christmas ornaments combine craftsmanship and holiday spirit, creating lasting memories.
The Art Of Woodturning Christmas Ornaments
Woodturning has a rich history dating back centuries. Craftsmen used basic tools to create beautiful items. Over time, woodturning evolved and became more artistic. Today, it combines traditional skills with modern techniques. People love making unique Christmas ornaments from wood. These ornaments add a personal touch to holiday decorations.
To start woodturning, you need essential tools. A lathe is the main tool for this craft. Sharp chisels help shape the wood. Sandpaper smooths the surface. Safety gear like goggles is crucial. Quality wood is also important. Popular choices include maple, cherry, and oak. These materials help create beautiful and durable ornaments.

Credit: www.woodturnersresource.com
Selecting The Right Wood
Choosing the right wood for woodturning Christmas ornaments ensures durability and a smooth finish. Opt for fine-grained hardwoods like maple or cherry.
Types Of Wood For Different Ornaments
Different types of wood make unique ornaments. Hardwoods like maple and oak are strong. They are perfect for detailed designs. Softwoods like pine and cedar are easier to carve. They are good for beginners. Exotic woods like ebony and rosewood add special touches. They are often used for elegant ornaments. Choose wood based on your skill level and the design you want.
Preparing Wood For Turning
Proper preparation is key. Dry wood is best for turning. Wet wood can crack and warp. Cut the wood to the right size. Remove any bark and dirt. Secure the wood on the lathe tightly. Always wear safety gear. Sand the wood smooth before starting. This helps get a clean finish. Proper preparation makes the job easier and safer.
Design Ideas For Every Skill Level
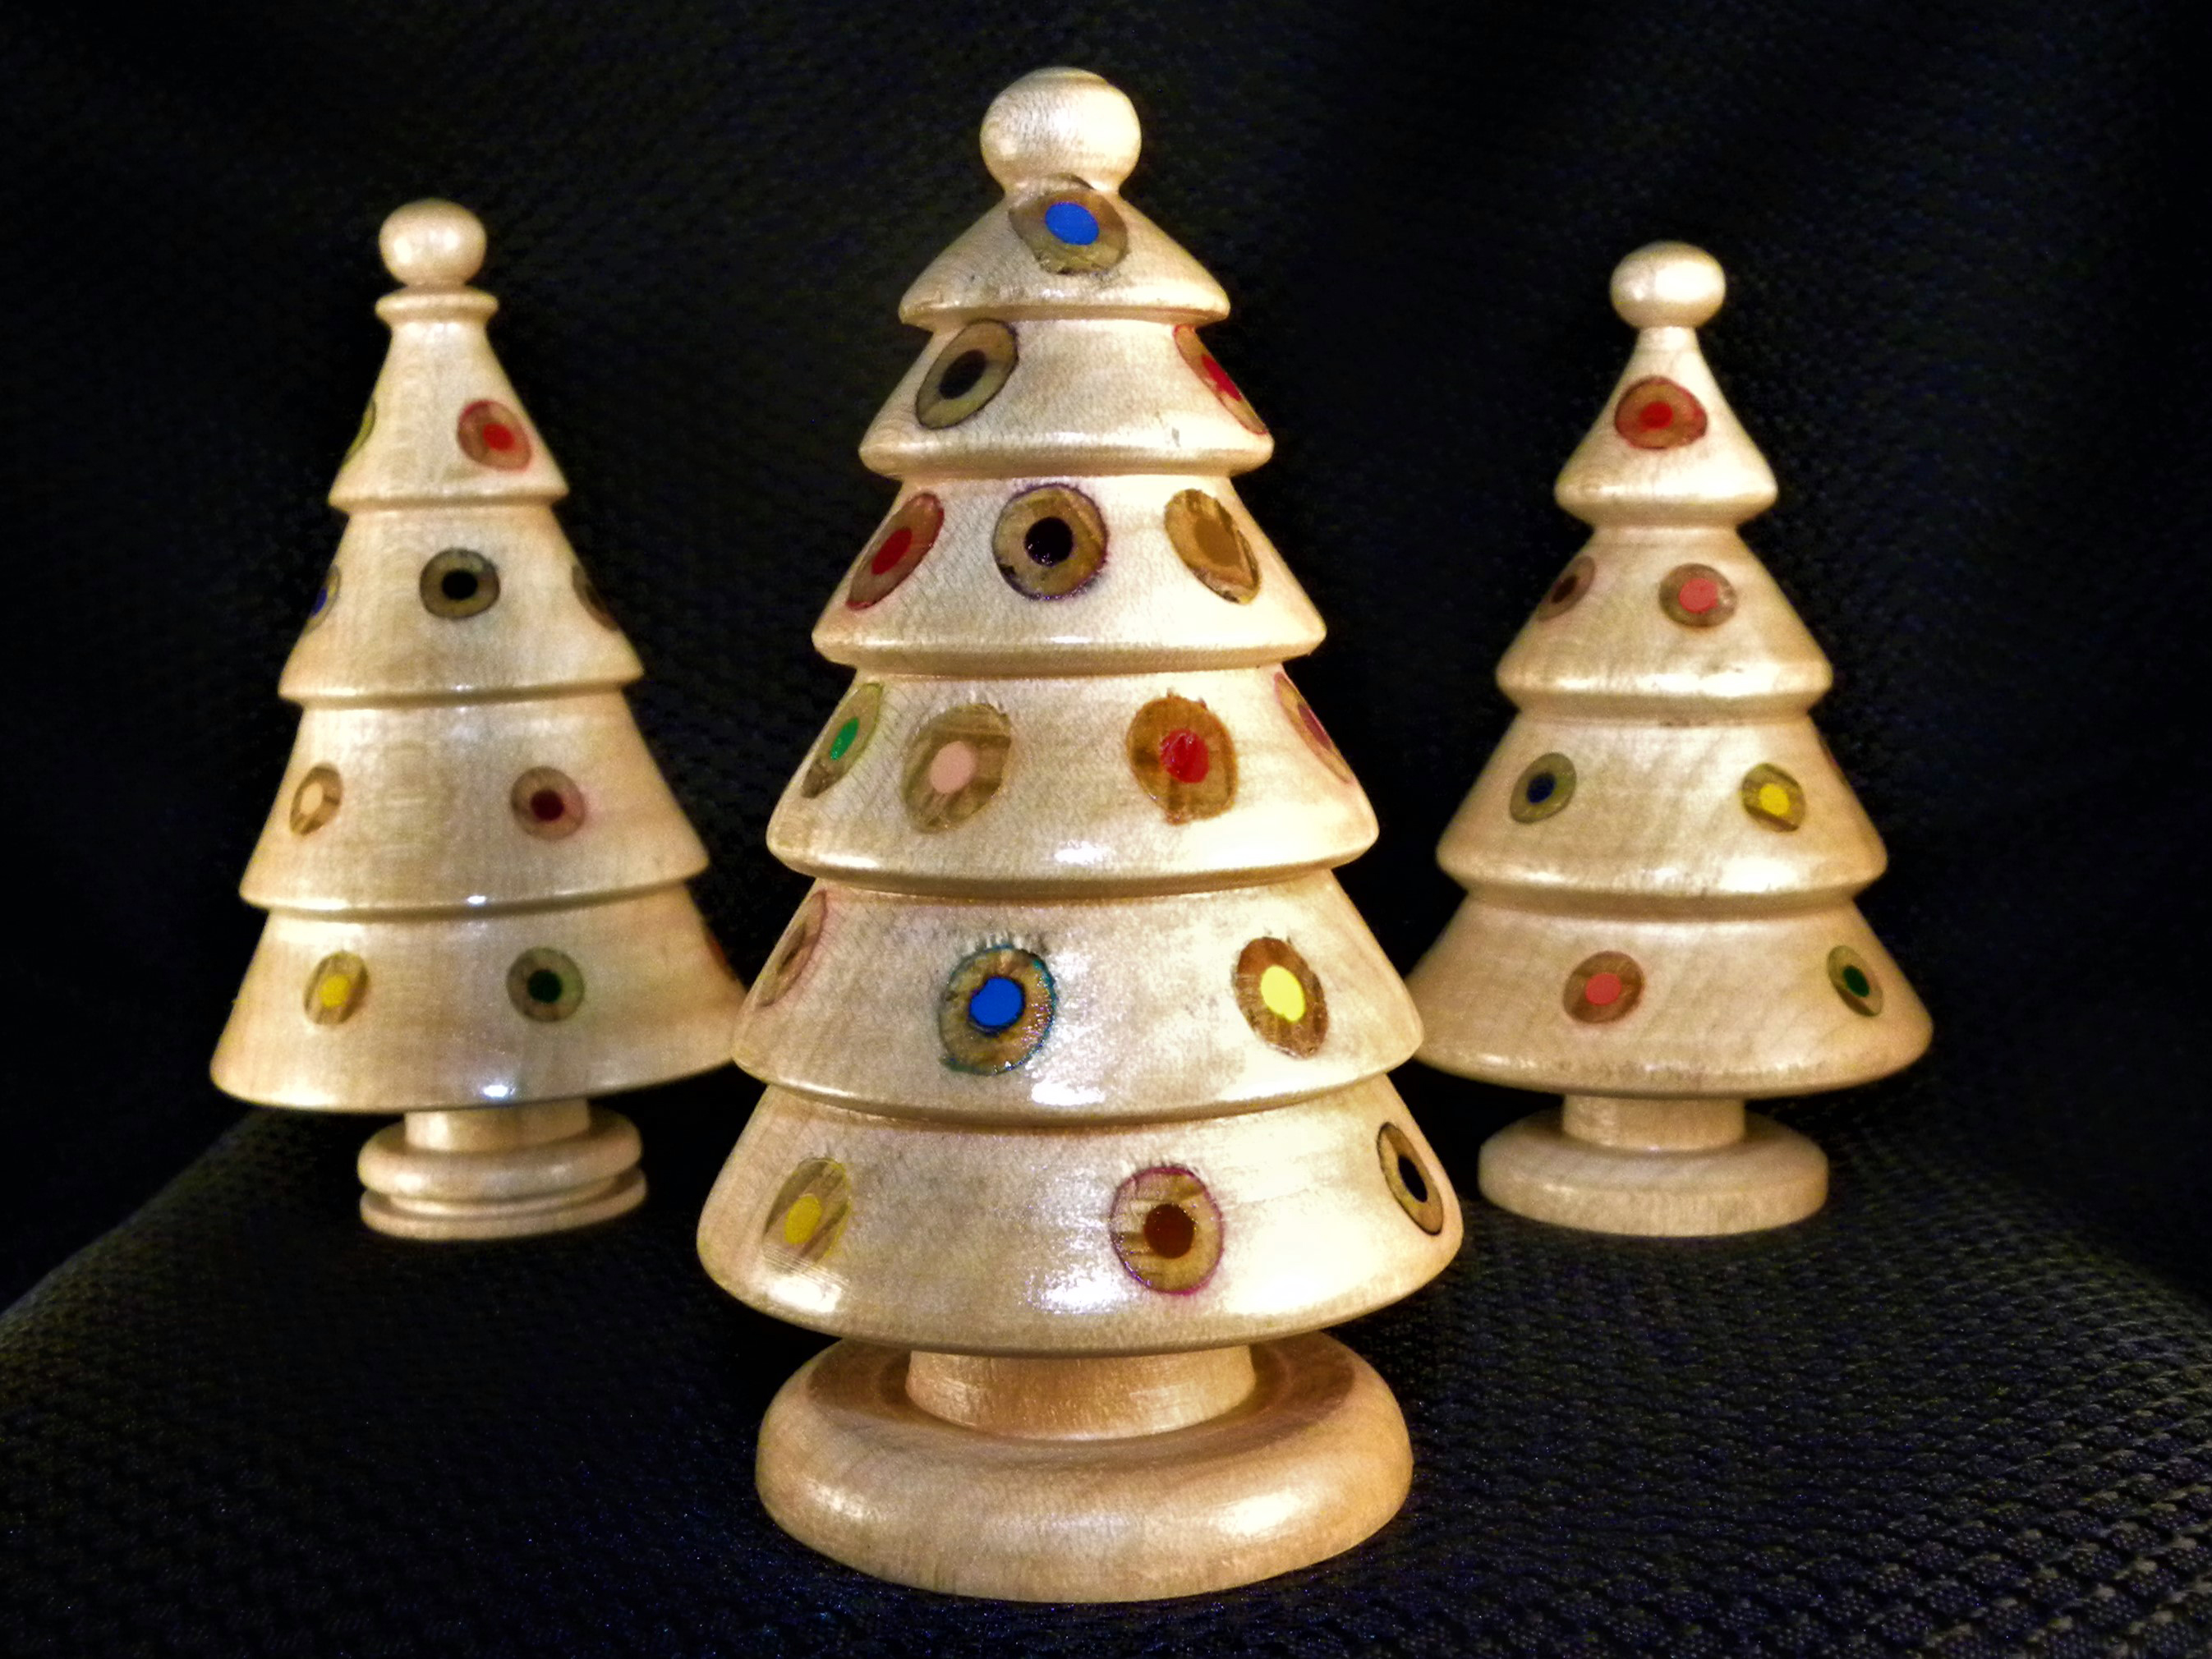
Beginners can start with basic shapes like spheres and cones. Snowmen are easy to make and look cute. Simple trees can be made by stacking rings. Use softwood for easier turning. Paint or stain for a festive look.
Advanced turners can try making intricate patterns. Hollow forms like bells are challenging. Segmented ornaments add color and texture. Use hardwoods for better detail. Finishing with lacquer adds a professional touch. Try making multi-part ornaments for a unique look.
Credit: www.aswoodturns.com
Step-by-step Guide To Your First Ornament
Organize tools and materials on a sturdy table. Ensure good lighting for better visibility. Clean the area to avoid accidents. Use clamps to secure the wood. Keep safety gear like goggles and gloves handy. A clear space helps you work better.
Start with a small piece of wood. Use a sharp chisel for smoother cuts. Turn the wood at a slow speed. Apply light pressure to avoid mistakes. Check your progress frequently. Sand the wood for a smooth finish. Practice makes you better.
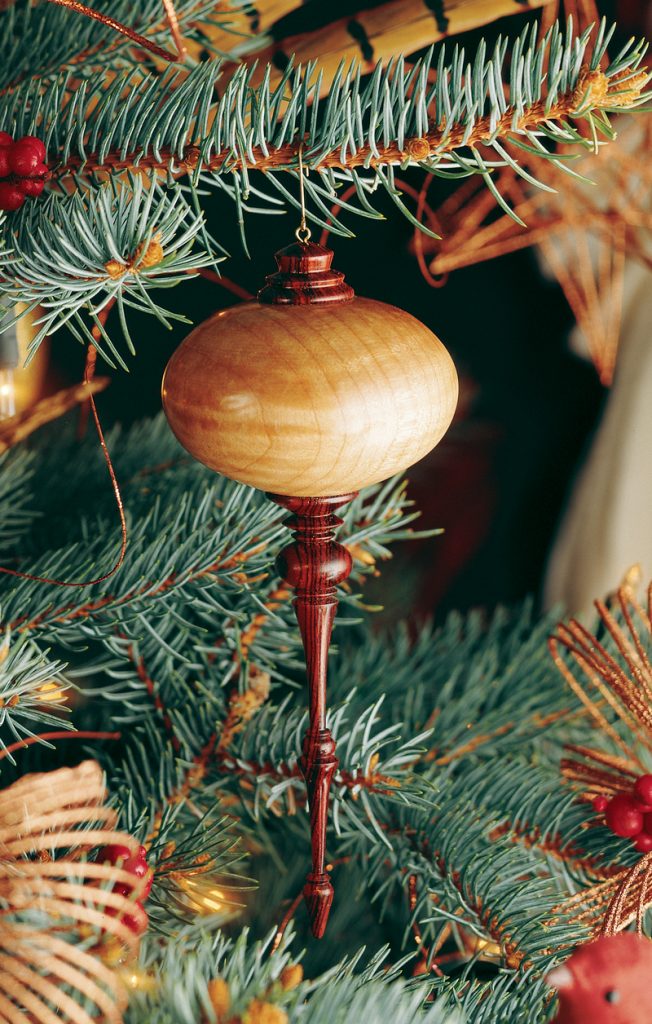
Finishing Touches For A Professional Look
Sanding makes the wood smooth. Start with coarse sandpaper. Gradually move to finer grits. This removes rough spots. Polishing adds shine to the ornaments. Use a soft cloth for this. Apply a small amount of polish. Rub it gently on the wood. This makes the ornaments look shiny and new.
Adding decorations makes each ornament unique. Paints and markers can be used. Choose bright colors for a festive look. Stickers and glitter add sparkle. Personalizing ornaments makes them special. Write names or messages on them. Use a fine-tip marker for neat writing. This adds a personal touch to each piece.
Credit: www.popularwoodworking.com
Safety Tips For Woodturning
Wear safety glasses to protect your eyes. A face shield is also a good idea. Always use ear protection to avoid damage from loud noises. Dust masks help to keep harmful particles out of your lungs. Gloves can protect your hands, but make sure they are not loose.
Keep the work area clean and organized. Ensure the lathe is secure and the tools are sharp. Never wear loose clothing or jewelry. Pay attention to your work and avoid distractions. Always have a first aid kit nearby. Make sure the lighting is good so you can see what you are doing. Turn off the machine before making adjustments.
Joining The Woodturning Community
Join a woodturning club near you. Meet new friends who love woodturning. Share tips and tricks with them. Learn from experienced woodturners. Online forums are also great. Talk with people all over the world. Show your work and get feedback. Ask questions and get answers. Everyone is welcome. Both beginners and experts can join.
Show your woodturning creations to the world. Take good pictures of your work. Use a simple background. Share them on social media. Post them in online forums. Enter woodturning contests. Visit local craft fairs. Display your work proudly. People love handmade items. Your work can inspire others.
Expanding Your Skills
Try making more complex shapes. Use different wood types for variety. Learn to create intricate designs. Practice makes perfect. Experiment with new tools and attachments. Challenge yourself with each project.
Join local woodturning clubs. Attend specialized workshops. Learn from experienced woodturners. These classes offer hands-on experience. Get personalized guidance. Meet other enthusiasts. Share tips and techniques. Improve your skills faster.
Frequently Asked Questions
How Do You Make A Wood Slice Portrait Christmas Ornament?
To make a wood slice portrait Christmas ornament, print a photo on transfer paper. Adhere it to the wood slice using Mod Podge. Let it dry, then peel off the paper. Add a layer of Mod Podge to seal. Attach a ribbon for hanging.
How To Age Christmas Ornaments?
To age Christmas ornaments, lightly sand them, apply a brown glaze, then wipe off excess. Let them dry completely.
How To Decorate Christmas Ornaments?
To decorate Christmas ornaments, use paint, glitter, and stickers. Personalize with names or dates. Add ribbons and small embellishments for extra flair.
Do Vintage Christmas Ornaments Have Lead?
Yes, vintage Christmas ornaments often contain lead. Handle them carefully to avoid potential health risks. Consider modern alternatives for safety.
Conclusion
Creating woodturned Christmas ornaments can be a joyful and rewarding experience. These handmade decorations add a personal touch to your holiday decor. With practice and creativity, you can craft stunning ornaments. Embrace the art of woodturning and make your holidays special with unique, handcrafted pieces.
Happy woodturning and Merry Christmas!