Table of Contents
I’ve learned about woodworking workshops and want to share how to set up your DIY woodturning space. It’s cheaper and lets you create a space that suits your needs. Taking control of your workshop setup will inspire you to make beautiful wood-turned projects. Let’s look at the benefits and tips for creating a functional and inviting woodworking workshop.
Planning Your Woodturning Workshop Layout
Workshop Design
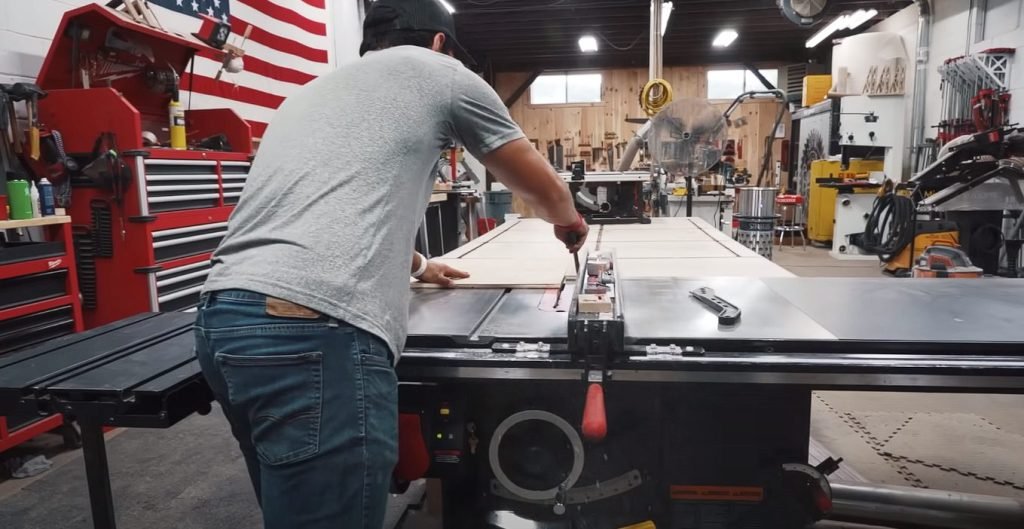
When setting up your DIY woodturning workshop, it’s crucial to consider the workshop area and its layout. The size of your space will determine how you organize your tools and workstations. An optimal layout can significantly enhance workflow efficiency, making moving between different workshop areas easier.
Creating a functional workshop design involves strategically placing tools and workstations. For example, positioning the lathe near a window for natural light or close to a dust collection system can improve ventilation. This thoughtful approach ensures every tool has its designated place, reducing clutter and minimizing the time spent searching for equipment during projects.
Efficiency Optimization
Consider arranging tools based on workflow sequences to optimize efficiency in your DIY woodturning workshop. Placing roughing, spindle gouges, and parting tools near the lathe allows quick access when transitioning between turning stages. Having sharpening stations conveniently located next to where cutting activities occur streamlines the process of maintaining sharp tools while working on projects.
Strategically organizing supplies such as sandpaper grits, finishing oils, and protective gear within arm’s reach further enhances productivity during woodworking tasks. By creating an efficient workspace with easy access to essential materials and equipment, you can focus more on honing your woodturning skills without disruptions.
Essential Tools and Machinery for Woodturning
Must-Have Tools
You’ll need some essential tools to set up a DIY woodturning workshop. These include chisels, gouges, parting tools, and scrapers. Each tool serves a specific purpose in shaping and finishing wooden workpieces on the lathe. Chisels are used for rough shaping, while scrapers are ideal for refining surfaces.
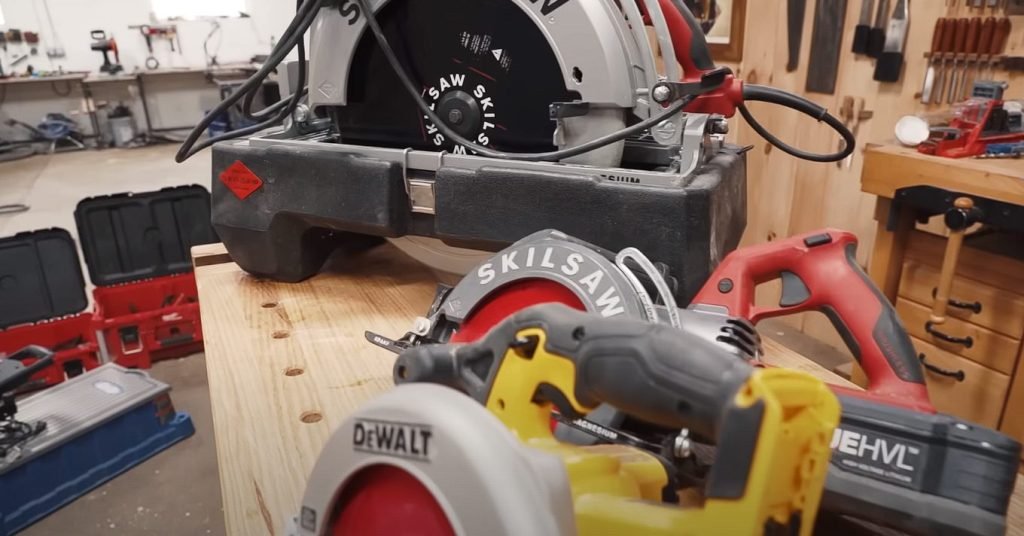
Woodturners rely on their expertise to manipulate them effectively. Understanding how each tool interacts with the wood is crucial for achieving desired shapes and finishes. A good saw blade is vital for preparing lumber or plywood before mounting it onto the lathe.
Types of Lathes
Lathes come in various types, such as mini lathes, midi lathes, and full-size lathes. The size of the lathe determines its capabilities; larger lathes can accommodate bigger workpieces, while smaller ones are suitable for more intricate projects. Moreover, stationary machines like these offer stability when working with hardwood plywood or other rigid materials.
My experience has taught me that choosing the right lathe type depends on your intended projects and available space in your workshop. For example, a mini lathe might be sufficient if you plan to work on small decorative items like pens or bottle stoppers.
Essential Accessories
In addition to machinery and hand tools, several accessories enhance the woodturning experience. A tail vise secures workpieces firmly in place during turning operations while ensuring safety for the operator. Attachments like different blades add versatility to your woodworking endeavors, allowing you to achieve various cuts and finishes.
Considering my setup at home has helped me realize that investing in high-quality equipment from reputable brands ensures durability and precision throughout my woodworking journey.
Setting Up an Effective Dust Collection System
Importance of Dust Collection
Woodturning workshops produce fine dust and airborne debris, posing health risks to woodworkers. A proper dust collection system is crucial for maintaining a clean and safe environment. Wood dust can cause respiratory issues if inhaled, making it essential to capture as much of it as possible.
Effective dust collection also contributes to the cleanliness of your workshop. It prevents sawdust and debris from accumulating on surfaces, tools, and machinery. This makes the workspace more pleasant and reduces the risk of slips or falls due to dusty floors.
Understanding the importance of capturing wood dust has significantly improved my workshop’s cleanliness and made me feel safer working with wood.
Options for Effective Dust Collection
One effective dust collection option is using a dedicated dust collector that connects to all your machines via a network of hoses. These collectors are designed to handle large volumes of dust and debris efficiently. Another option is installing individual dust ports on each machine, which can be connected to a central vacuum system.
A third option involves utilizing air filtration systems that capture fine particles suspended in the air after woodworking activities. These systems help maintain clean air quality within the workshop by continuously filtering out airborne contaminants.
- Pros:
- Ensures cleaner air quality in the workshop
- Reduces health risks associated with inhaling wood dust
- Cons:
- Initial setup costs may be high depending on the chosen system
- Regular maintenance is required for optimal performance
Workbench and Storage Solutions for Efficiency
Sturdy Workbench
When setting up a DIY woodturning workshop, it’s crucial to create a sturdy workbench that can withstand the demands of woodturning. A solid workbench provides stability and support when working with heavy lumber or turning large pieces. Use thick, durable boards or laminated sheets to construct the workbench top. This will ensure it can handle the pressure and vibrations associated with woodturning.
It’s also essential to have a spacious work surface for maneuverability while turning wood. Opt for a design that offers ample space around the lathe, allowing you to move freely without obstruction. Reinforcing the legs of the workbench will further enhance its sturdiness and durability.
Maximized Storage Space
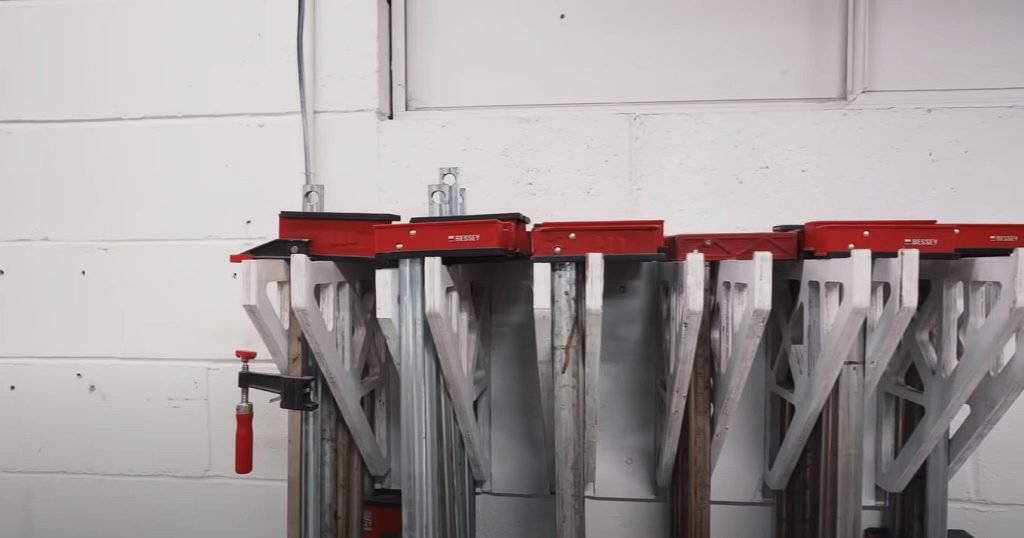
Maximizing storage space is crucial in keeping your woodworking tools organized and easily accessible. Incorporating shelves, drawers, or cabinets beneath the workbench provides convenient storage options for chisels, gouges, sandpaper, and other essential tools used in woodturning. To store different types of lumber efficiently, utilize wall-mounted lumber racks or low-profile shelving units.
Efficient storage solutions keep your workspace tidy and contribute to safety by preventing clutter on your workshop floor. Having designated spaces for each tool and material can minimize time spent searching for items during projects.
Ergonomic Considerations
Incorporating ergonomic considerations into your workshop setup is vital for long-term comfort and health as a woodturner. Ensure proper task lighting above the lathe area to reduce eye strain during intricate turning tasks. Moreover, positioning heavy machinery such as lathes at an ideal height reduces strain on your back and arms while working.
Electrical and Lighting Considerations for Safety and Precision
Electrical Setup
When setting up your DIY woodturning workshop, ensure you have a proper electrical setup to power your machinery safely. This includes having enough electrical outlets to accommodate all the equipment you use. It’s essential to avoid overloading circuits, so consider consulting an electrician if necessary. Ensure all electrical cords are in good condition without any fraying or damage.
Adequate lighting is crucial for enhancing visibility during woodturning. Proper illumination helps you see the details of your workpiece clearly and ensures precision in your craftsmanship. Whether natural ambient light from windows or strategically placed artificial lighting, having a well-lit workspace can significantly improve the quality of your woodturning projects.
Safety Measures
Implement safety measures to protect against electrical hazards. This includes using ground fault circuit interrupters (GFCIs) where needed, especially near water sources or dampness. Cords should also be kept away from sharp tools and spinning machinery to prevent accidental tripping or entanglement.
In my experience, installing adjustable LED task lights above each lathe station greatly improved visibility while turning intricate designs on wooden bowls and spindles. Labeling each circuit breaker with its corresponding area of the workshop helped me easily identify and troubleshoot any electrical issues.
Critical Aspects of Woodturning Lathe Setup
Proper Setup and Alignment
When setting up a DIY woodturning workshop, it’s crucial to ensure that your woodturning lathe is appropriately set up and aligned. This involves securing the lathe to a stable workbench or stand, ensuring it is level, and checking that the headstock and tailstock are perfectly aligned. Misalignment can lead to wobbling, vibrations, and inaccurate turning.
It’s also essential to adjust the tool’s rest to close to the workpiece but doesn’t touch it. This allows for smooth tool movement while ensuring safety during turning. Aligning the centers of the headstock and tailstock with precision ensures that your workpiece rotates evenly without any wobble.
Speed Settings Adjustment
Adjusting speed settings on your woodturning lathe is essential for different turning projects. Lower speeds are ideal for safety and control when working on larger pieces such as bowls or platters. On the other hand, smaller spindle projects may require higher speeds for efficient shaping.
Understanding how to adjust belt positions or change electronic speed controls based on your project’s requirements will result in better outcomes and a reduced risk of accidents or damage to tools and workpieces.
In my experience with DIY woodturning workshops, I’ve found that having a clear understanding of proper alignment techniques has significantly improved my turning results. It’s essential not only for achieving precise shapes but also for ensuring safety throughout the process.
Implementing Safety Measures in Your Workshop
Prioritize Safety
When woodturning, always wear the necessary safety gear. This includes safety goggles to protect your eyes from wood chips and debris and hearing protectors to safeguard your ears from the loud noise of machinery. Use a dust mask to prevent inhalation of wood particles.
It’s crucial to minimize risks by strictly adhering to safe operating procedures for each tool or machine in your workshop. Before starting any project, ensure all tools are properly maintained and functioning. Always follow the manufacturer’s guidelines for equipment usage.
Create a Safe Environment
Keep flammable materials away from heat sources and electrical equipment to maintain a safe and organized workshop environment. Install a fire extinguisher in an easily accessible location within your workshop space. Furthermore, have a clear path throughout the workspace to avoid tripping hazards.
Organize power cords and cables neatly using cable ties or hooks to prevent accidental trips or entanglement with machine moving parts. Ensure proper lighting in every corner of the workshop for enhanced visibility during intricate woodworking tasks.
If your basement workshop is located there, consider installing ground fault circuit interrupters (GFCIs) on all outlets. GFCIs provide protection against electrical shock.
Getting Started with Your First Woodturning Projects
Starting Small
Start your DIY woodturning workshop setup by focusing on simple projects. Begin with small items like wooden pens, bottle stoppers, or spinning tops. These projects allow you to practice basic woodturning techniques without feeling overwhelmed.
Experiment with different wood species to understand how each type behaves on the lathe. This hands-on experience will help you gain confidence and better understand the materials you’re working with.
I’ve found that creating small items like salt and pepper shakers or honey dippers is an excellent way to hone my skills before moving on to more complex projects.
Learning Basic Techniques
To build your skills as a woodturner, it’s crucial to learn fundamental techniques such as spindle turning and bowl turning. Spindle turning involves shaping long, narrow pieces of wood into various forms like table legs or candlesticks.
Bowl turning, on the other hand, focuses on transforming chunks of wood into beautiful bowls and vessels. Practice these techniques repeatedly until you feel comfortable before progressing to advanced projects.
When I started my woodworking journey, I dedicated weekly time to practicing these basic techniques. It helped me improve my precision and control over the tools.
Embracing Creativity
As you progress in your woodworking journey, don’t be afraid to experiment with different shapes and designs. Use your creativity to create unique pieces that reflect your style and artistic vision.
For a creative challenge, consider crafting items like fruit bowls with intricate patterns or decorative wooden ornaments. By exploring diverse shapes and styles, you’ll expand your skill set while discovering what resonates most with you as a wood artist.
The ability to create one-of-a-kind pieces has been incredibly rewarding for me. It’s where I can truly express myself through my craft.
Conclusion
Careful planning and consideration are essential when setting up a DIY woodturning workshop. Every aspect is crucial for creating an efficient and safe workspace, from designing the layout to choosing the right tools and ensuring safety. With a well-organized and equipped workshop, I’m ready to unleash my passion for woodturning and start exciting projects. Now, it’s time to put this knowledge into action. I encourage you to apply these insights to your workshop setup, creating a suitable environment for woodturning. Let’s embark on this woodworking journey with confidence and enthusiasm!
Frequently Asked Questions
What are the essential tools needed for setting up a woodturning workshop?
To set up a woodturning workshop, you will need essential hand tools such as chisels, gouges, and parting tools. Critical machinery includes a lathe, bandsaw, grinder, and drill press.
How can I ensure safety in my woodturning workshop?
Safety measures in a woodturning workshop include wearing appropriate protective gear, such as goggles and dust masks. It’s also crucial to keep your workspace clutter-free and well-lit. Always follow proper techniques when using machinery to avoid accidents.
What is an effective dust collection system for a woodturning workshop?
A sound dust collection system for a woodturning workshop typically involves installing an efficient dust collector with appropriate suction power. Position it strategically near the lathe to capture fine particles effectively while turning.
How should I plan the layout of my woodturning workshop for optimal efficiency?
When planning your woodworking shop layout, consider organizing machines and workbenches in functional zones based on workflow. Leave enough space around each machine for easy access and movement while working on projects.
What are some critical considerations for setting up lighting in a woodturning workshop?
Proper lighting is vital in a woodworking shop to ensure precision and safety. Install bright LED lights overhead or task lighting near workstations to illuminate detailed tasks effectively without creating shadows or glare.

