
Table of Contents
Woodturning finish enhances the beauty and durability of turned wood projects. It protects the wood from moisture and wear.
Woodturning involves shaping wood on a lathe, creating unique and intricate designs. Applying a finish is the final step that brings out the wood’s natural beauty while adding a layer of protection. Various finishes like oils, waxes, and lacquers can be used, each offering different benefits.
Oils penetrate deep, enhancing grain patterns. Waxes provide a smooth, lustrous finish. Lacquers offer a hard, durable surface. Choosing the right finish depends on the desired look and the piece’s intended use. A well-applied finish can transform a simple wooden object into a stunning piece of art.
Introduction To Woodturning Finishes
Woodturning is a fun and creative hobby. You can make bowls, pens, and other items. Using a lathe, wood spins fast. The woodworker shapes it with tools. This process is called turning. Many people enjoy this craft. It takes patience and skill.
A good finish makes wood look great. It can make the wood shine and sparkle. Finishes protect the wood from damage. They make the item last longer. Choosing the right finish is important. Different finishes have different uses. Some finishes are shiny. Others are matte.
Preparing The Wood Surface
Sanding is very important. Start with coarse-grit sandpaper. This removes any rough spots. Gradually move to finer grits. This makes the wood smooth. Always sand along the grain. This prevents scratches. Change sandpaper when it gets worn out.
Sealing the grain helps achieve a smooth finish. Apply a thin layer of sealer. Use a clean brush for this. Let it dry completely. Sand lightly after it dries. This removes any raised grain. Repeat the process if needed. Your wood will be ready for finishing.
Choosing The Right Finish
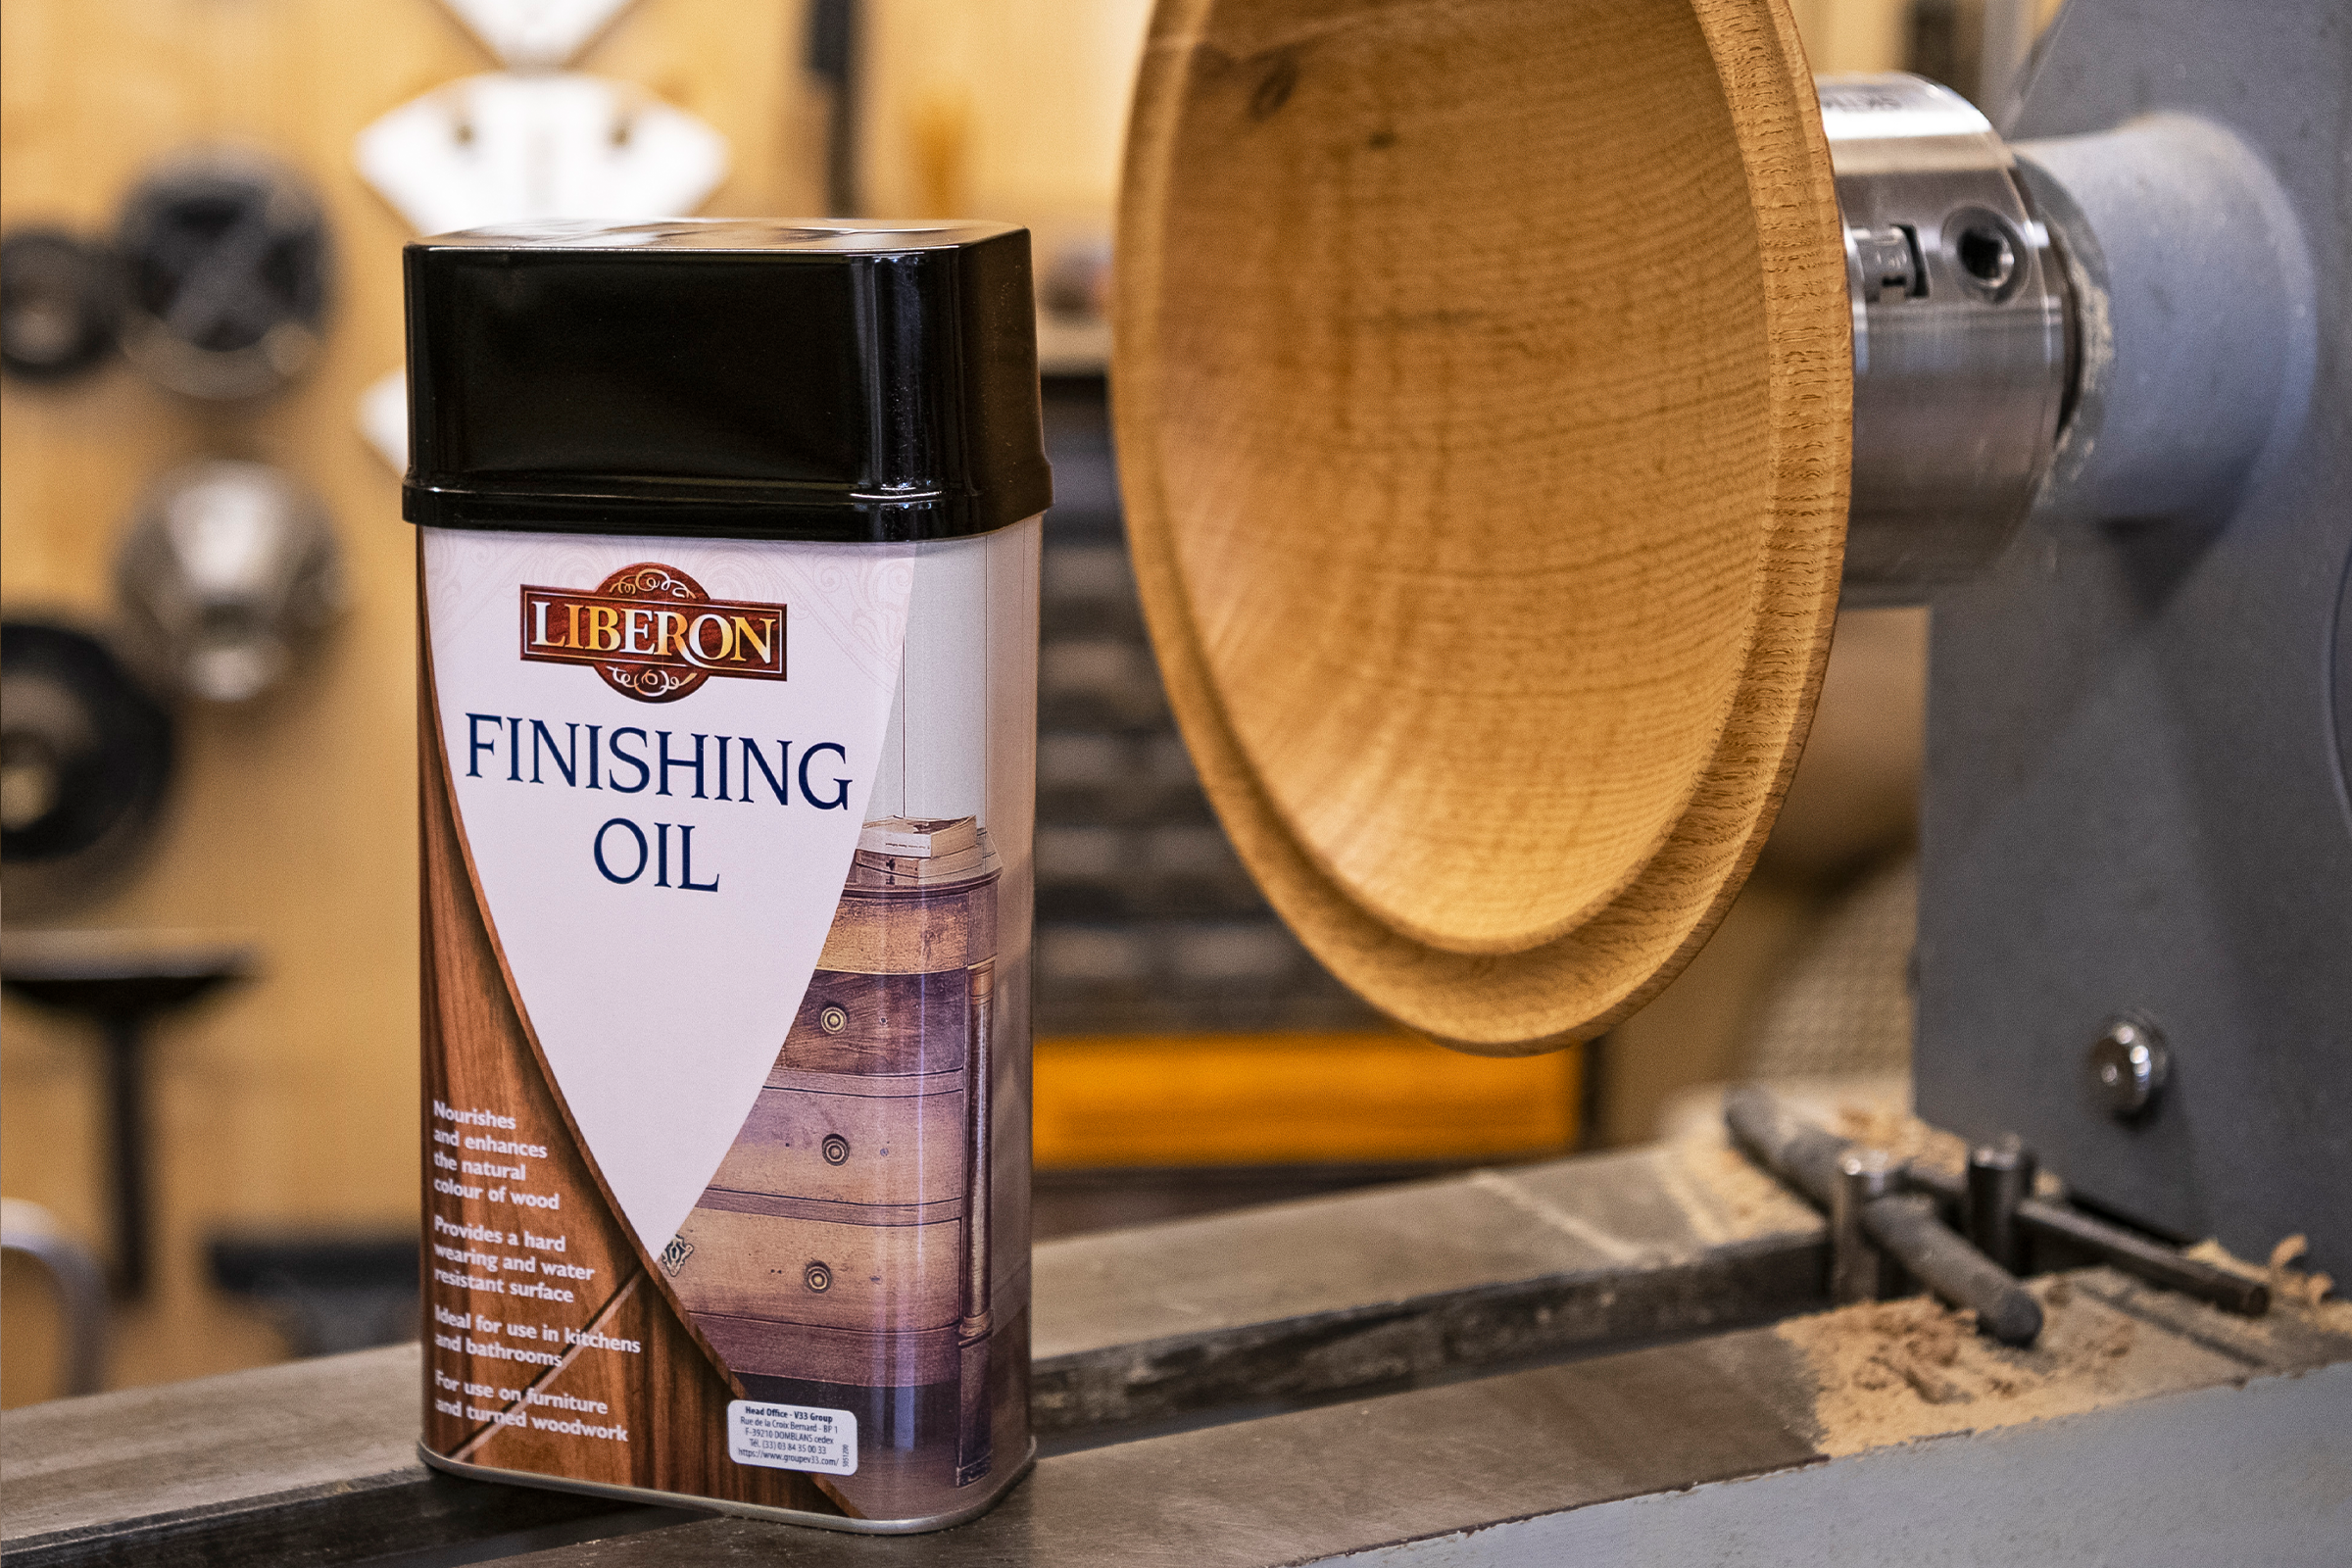
Various finishes are available for woodturning. Some popular ones include oil, wax, and lacquer. Oil finishes penetrate deep into the wood, providing a natural look. Wax finishes offer a smooth, soft feel but need regular reapplication. Lacquer finishes provide a hard, protective coat, making them durable.
Choose a finish based on your project type. Functional items like bowls need a durable finish. Decorative items can use finishes that enhance their look. Outdoor projects require finishes that resist weather. Food-safe finishes are essential for items that will touch food.
Credit: www.woodworkersjournal.com
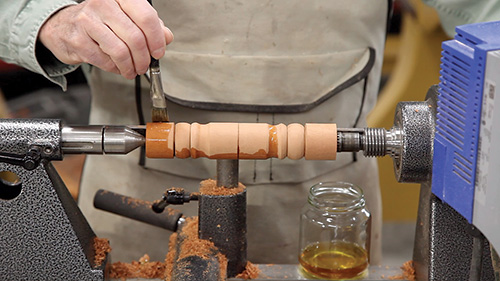
Oil Finishes For A Natural Look
Use a clean cloth to apply the oil. Rub the oil into the wood. Work in the direction of the grain. Ensure the wood is evenly coated. Let the oil soak in for 15 minutes. Wipe off any excess oil with a dry cloth. Allow the wood to dry for at least 24 hours. Repeat the process if needed for a smoother finish.
Let the oil finish cure for a week. Place the wood in a dust-free area. Keep the wood out of direct sunlight. After curing, the wood will have a beautiful shine. Clean the wood with a damp cloth. Avoid harsh chemicals. Reapply oil every six months to maintain the finish. Regular care keeps the wood looking great.
Achieving Gloss With Lacquer
Spray application gives a smooth and even finish. It is faster than brushing. Brushes can leave marks, but they are cheaper. Spraying requires more equipment. Brushes are simple to use. Both methods need good ventilation. Spraying can cover large areas quickly. Brushing is better for small details. Each method has its pros and cons.
Lacquer gives a shiny finish to wood. Apply multiple layers for depth. Each layer must dry completely. Sand lightly between layers. This removes any imperfections. More layers mean a richer finish. Thin layers work best. Thick layers can crack or peel. Building layers takes time but is worth it.
Applying Wax For A Soft Sheen
Picking the correct wax is important. Beeswax offers a natural look. Carnauba wax is harder and shinier. Both are great choices. Check the label for wood compatibility. Some waxes are best for certain woods. Always test on a small area first.
Apply wax with a clean cloth. Use circular motions. Let the wax dry for 10 minutes. Buff with a soft cloth for a shiny finish. Repeat if needed for a deeper shine.
Epoxy And Resin For Durability
Mixing epoxy and resin needs care. Use a clean container. Mix equal parts of resin and hardener. Stir slowly for a good mix. Speed causes bubbles.
Let the mix sit for a while. Bubbles will rise to the top. Use a heat gun to pop them. Apply in thin layers for a smooth finish. Check your work under bright light.

Credit: www.youtube.com
Advanced Techniques For A Flawless Finish
French polishing creates a high-gloss shine. Use a soft cloth to apply shellac. Rub the cloth in small circles on the wood. Add more shellac as needed. Build up layers for a deeper shine. Sand lightly between layers for smoothness. This technique takes time and patience. The result is a beautiful, glossy finish.
Start with a clean surface. Sand the wood to make it smooth. Apply a wood sealer. Use a foam brush for even coats. Let the sealer dry completely. Buff the surface with a soft cloth. Apply multiple coats of polish. Each layer adds more shine. Finish with a final buffing for a flawless look.
Troubleshooting Common Finishing Problems
Drips and runs can ruin a wood finish. To fix them, sand the area gently. Use fine-grit sandpaper for better results. Apply a thin coat of finish over the area. Let it dry completely. Repeat the process if needed.
Dust and nibs can spoil your work. Use a tack cloth to remove dust before finishing. Apply the finish in a dust-free area. Sand between coats to remove nibs. Use fine-grit sandpaper for a smooth finish. Clean the surface again before the next coat.
Credit: www.axminstertools.com
Maintaining The Finish
Keep the wood piece away from direct sunlight. Sunlight can fade the finish. Use a soft cloth to dust the surface often. Avoid using water or harsh chemicals. These can damage the wood and finish. Consider using a special wood cleaner. These cleaners are safe and effective. Always follow the cleaner’s instructions. Store the wood piece in a cool, dry place. Moisture can cause the wood to swell or crack.
Check the wood for any signs of wear. Look for scratches or dull spots. Refinish the wood if the surface looks worn. Sand the wood lightly before applying a new finish. Use a clean brush for the new finish. Let the finish dry completely. Apply a second coat if needed. Keep the wood piece in a well-ventilated area while it dries.
Frequently Asked Questions
What Is The Best Finish For Woodturning?
The best finish for woodturning is a friction polish. It provides a smooth, glossy surface and enhances wood grain.
How Do You Get A Smooth Finish On Woodturning?
To achieve a smooth finish on woodturning, sand progressively from coarse to fine grits. Use sharp tools, apply light pressure, and finish with a quality wood polish or oil.
What Is The Best Finish For Turned Wooden Bowls?
The best finish for turned wooden bowls is food-safe mineral oil. It enhances the wood’s natural beauty and provides protection.
What Is The Best Finish For Turned Handles?
The best finish for turned handles is a high-quality, food-safe oil like mineral oil or walnut oil. These provide durability and a smooth feel.
Conclusion
Choosing the right woodturning finish enhances the beauty and durability of your projects. Experiment with different finishes to find the perfect match. Remember, proper preparation and application are key. With practice, you’ll achieve stunning results. Happy turning!