Table of Contents
Wood turning lathe projects involve creating various items like bowls, pens, and decorative pieces from wood using a lathe. These projects require skill, precision, and creativity.
Wood turning is an engaging and rewarding hobby. It allows crafters to transform raw pieces of wood into functional and decorative items. Utilizing a lathe, woodworkers can create beautiful bowls, intricate pens, and stunning decorative pieces. This craft not only hones one’s woodworking skills but also provides a creative outlet.
Beginners can start with simple projects like basic bowls or handles, while experienced woodturners can tackle more complex designs. Whether for personal use or as gifts, wood turning lathe projects offer endless possibilities and satisfaction.
Introduction To Wood Turning Lathes
Wood turning lathes are essential tools for woodworkers. They allow you to shape wood into beautiful designs. Whether you are a beginner or a seasoned craftsman, a wood turning lathe can enhance your projects. This tool spins a block of wood while you use a chisel to carve it. The results can be anything from bowls to intricate furniture legs.
The Art Of Wood Turning
Wood turning is an art form. It involves shaping wood with precision. You can create both functional and decorative items. The key is to control the chisel while the wood spins. This requires practice and skill. Many find wood turning relaxing and rewarding. It is a way to express creativity through wood.
Types Of Wood Turning Lathes
There are several types of wood turning lathes available. Each type serves different needs. Understanding these types helps you choose the right one.
| Type | Description | Best For |
|---|---|---|
| Mini Lathes | Compact and portable. Ideal for small projects. | Beginners, Hobbyists |
| Midi Lathes | Medium-sized. Offers more power and capacity. | Intermediate Users |
| Full-Size Lathes | Large and powerful. Suitable for big projects. | Professionals |
Choosing the right lathe depends on your project size. Mini lathes are perfect for small items like pens. Midi lathes handle medium-sized tasks. Full-size lathes are best for large, complex projects.
- Mini Lathes: Ideal for small, detailed work.
- Midi Lathes: Good for larger pieces and more power.
- Full-Size Lathes: Best for professional, large-scale projects.
Each type has its benefits. Understanding these can help you make an informed choice.
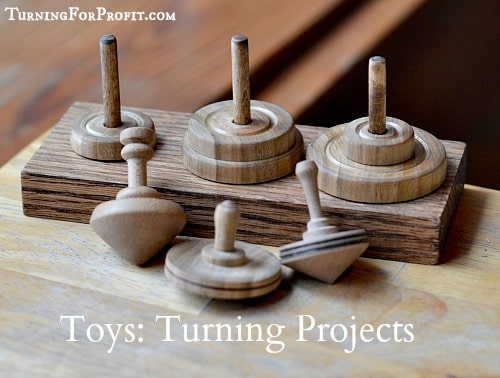
Credit: www.turningforprofit.com
Choosing The Right Wood
Choosing the right wood is vital in wood turning lathe projects. Different woods have different properties. These properties affect the final product. Understanding these properties can help you make the best choice.
Properties Of Wood For Turning
Each type of wood has unique properties. These properties include hardness, grain, and moisture content. Understanding these properties can help you choose the right wood.
| Property | Description |
|---|---|
| Hardness | Hardwood is durable and strong. Softwood is easier to turn. |
| Grain | Straight grain wood turns more smoothly. Curly grain can add beauty. |
| Moisture Content | Dry wood is stable. Wet wood may warp and crack. |
Selecting Wood For Different Projects
Different projects may require different types of wood. Here are some suggestions:
- Bowls: Use hardwood like maple or walnut. They are durable.
- Spindles: Use softwood like pine. It is easier to shape.
- Decorative items: Use exotic woods for unique patterns.
Each project has its own requirements. Choosing the right wood ensures success. Consider the properties and project type when selecting your wood.
Essential Tools For Lathe Projects
Starting with wood turning lathe projects is exciting. The right tools make a huge difference. Good tools ensure smooth and precise work. Let’s look at some must-have lathe tools and how to maintain them.
Must-have Lathe Tools
- Lathe Machine: The main tool for any project. It spins the wood.
- Gouges: Used for shaping the wood. They come in many sizes.
- Chisels: Essential for fine detailing. They help create sharp lines.
- Parting Tool: Helps in cutting off pieces from the main wood block.
- Calipers: Measures thickness and diameter. Ensures precision.
Maintaining Your Tools
Maintaining tools is crucial for good results. Clean tools last longer. They also work better. Follow these steps:
- Clean: Wipe tools after every use. Remove wood dust and debris.
- Sharpen: Keep edges sharp. Use a sharpening stone or machine.
- Oil: Oil metal parts to prevent rust. Use machine oil.
- Store: Keep tools in a dry place. Use a toolbox or cabinet.
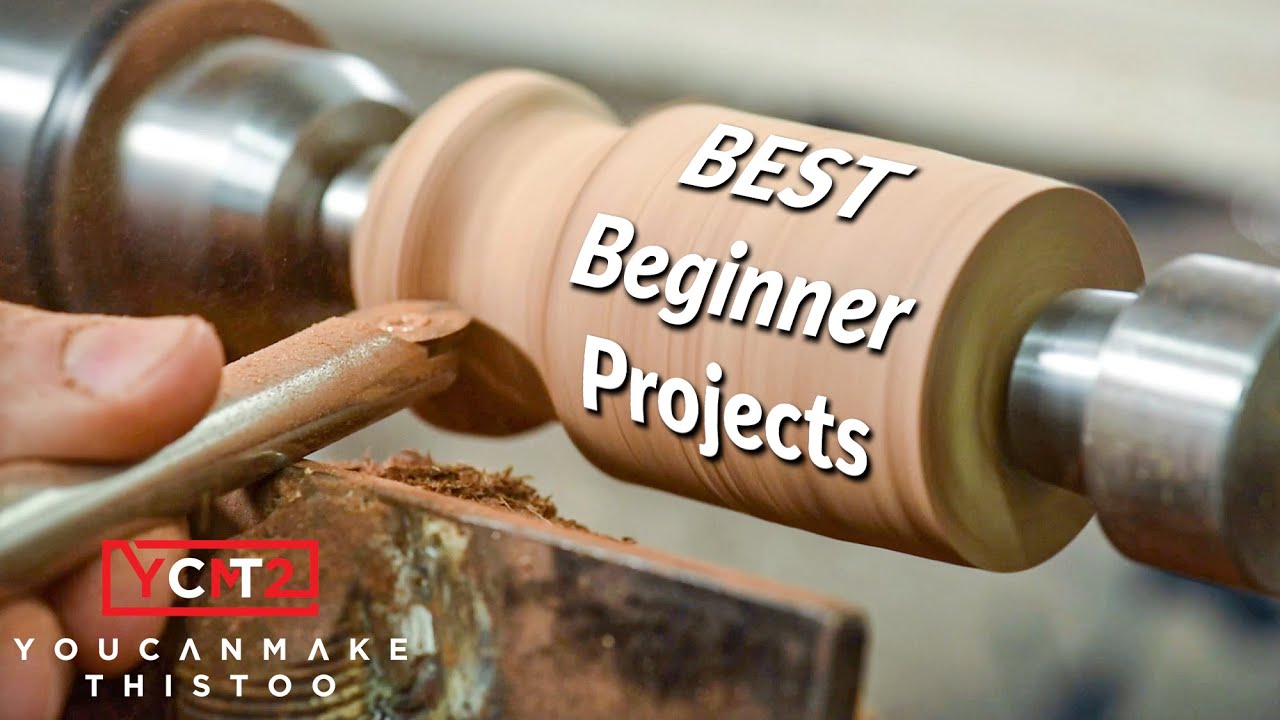
Credit: m.youtube.com
Safety First: Preparing Your Workspace
Creating beautiful wood turning lathe projects is exciting. But safety should always come first. Preparing your workspace properly is key. This ensures you stay safe while working. Follow these guidelines to set up your space correctly.
Personal Protective Equipment
Wearing the right gear is important. Personal protective equipment (PPE) keeps you safe. Here’s a list of must-have items:
- Safety Glasses: Protects your eyes from flying debris.
- Dust Mask: Keeps harmful dust out of your lungs.
- Hearing Protection: Guards your ears from loud noises.
- Gloves: Shields your hands from splinters and cuts.
- Face Shield: Offers extra protection for your face.
Workspace Setup And Safety Tips
Setting up your workspace correctly is crucial. Follow these tips to create a safe environment:
- Clean and Organize: Keep your workspace tidy. Remove any clutter.
- Good Lighting: Ensure your space is well-lit. This helps you see clearly.
- Stable Workbench: Make sure your workbench is stable. It should not wobble.
- Tool Placement: Place tools within easy reach. Avoid overreaching.
- Emergency Plan: Have a plan for emergencies. Keep a first aid kit handy.
Use this table to check your workspace setup:
| Task | Check |
|---|---|
| Clean Workspace | ✔ |
| Proper Lighting | ✔ |
| Stable Workbench | ✔ |
| Tools Within Reach | ✔ |
| Emergency Plan Ready | ✔ |
Remember, safety is the first step to a successful project. Prepare your workspace well.
Basic Techniques To Master
Wood turning can be an exciting hobby. Mastering basic techniques is essential. This guide will help you learn the essentials. You will gain skills in both spindle and bowl turning.
Spindle Turning Basics
Spindle turning is a fundamental technique. It involves shaping wood between centers. Here are the key steps:
- Mount the Wood: Secure the wood between the headstock and tailstock.
- Use the Roughing Gouge: Shape the wood into a cylinder.
- Mark the Design: Use a pencil to mark your design.
- Detail Work: Use smaller tools for finer details.
- Sanding: Smooth the surface with sandpaper.
| Tool | Purpose |
|---|---|
| Roughing Gouge | Initial shaping |
| Spindle Gouge | Detailing |
| Parting Tool | Cutting grooves |
Bowl Turning Techniques
Bowl turning requires a different approach. Here are the steps to follow:
- Mount the Blank: Secure the bowl blank on the lathe.
- Shape the Outside: Use a bowl gouge to shape the outside.
- Hollow the Inside: Hollow out the inside of the bowl.
- Finish the Surface: Sand the bowl to a smooth finish.
Always use sharp tools. Sharp tools make clean cuts. Clean cuts result in a better finish.
Advanced Wood Turning Methods
Exploring advanced wood turning methods opens new creative possibilities. These techniques enhance your craftsmanship. Mastering them requires patience and skill.
Creating Complex Shapes
Creating complex shapes on a wood lathe involves precision. Start with a detailed sketch. Plan your cuts carefully. Use sharp tools for better control.
Here’s a simple process to follow:
- Mount the wood securely on the lathe.
- Mark the design on the wood.
- Begin with rough shaping.
- Gradually refine the shape.
- Sand the finished piece for smoothness.
Consider using templates and jigs for uniform shapes. These tools help maintain consistency.
Incorporating Decorative Elements
Incorporating decorative elements adds flair to your projects. Use techniques like inlay, burning, and carving.
Here are some decorative techniques:
| Technique | Tool Needed |
|---|---|
| Inlay | Router |
| Burning | Wood Burner |
| Carving | Carving Tools |
Each technique requires practice. Begin with simple designs. Gradually attempt more complex patterns.
Combining complex shapes and decorative elements results in stunning pieces. Your skills will continually improve with practice.
Finishing Touches For A Professional Look
Wood turning lathe projects are a fantastic way to create unique items. To give these items a professional look, pay attention to the finishing touches. These details can make the difference between a good piece and a great one.
Sanding And Smoothing
Sanding is the first step in achieving a smooth surface. Start with a coarse grit sandpaper. Gradually move to finer grits. This process removes rough spots and imperfections.
Use a sanding block or a power sander. Ensure even pressure to avoid uneven surfaces. Sanding not only smooths the wood but also prepares it for the finish.
After sanding, smoothing is essential. Use a fine-grit sandpaper or steel wool. This step gives the wood a silky texture. Always sand along the grain to prevent scratches.
Applying Finishes And Sealants
Once the wood is smooth, it’s time to apply a finish. Finishes enhance the wood’s natural beauty and protect it. Common finishes include varnish, shellac, and lacquer.
For a natural look, use oil finishes like linseed or tung oil. These penetrate the wood and bring out its color. Apply with a cloth and let it soak in.
Sealants are crucial for protecting the wood. They prevent moisture and dirt from penetrating. Polyurethane is a popular choice for a durable sealant. Apply it in thin, even coats with a brush.
Allow each coat to dry thoroughly. Lightly sand between coats for the best results. This ensures a smooth, professional finish.
| Step | Tool | Tip |
|---|---|---|
| Sanding | Sandpaper | Start with coarse grit, move to fine grit |
| Smoothing | Steel wool | Always sand along the grain |
| Applying Finish | Cloth | Use oil finishes for a natural look |
| Sealing | Brush | Apply thin, even coats |
Project Ideas To Get You Started
Wood turning lathe projects can be incredibly rewarding. Whether you are a beginner or an advanced turner, there are projects to match your skill level. Here are some exciting project ideas to get you started on your wood turning journey.
Simple Projects For Beginners
Starting with simple projects helps build confidence and skills. Here are some easy projects for beginners:
- Wooden Pens: Turn pens using wood blanks. They are small and manageable.
- Candle Holders: Create beautiful candle holders. These can be great gifts.
- Bowls: Simple wooden bowls are excellent practice for shaping and finishing.
These projects use basic tools and materials. They are perfect for honing your skills.
Challenging Projects For Advanced Turners
Once you have mastered the basics, try more challenging projects. These projects require advanced skills and precision:
- Intricate Vases: Create vases with detailed patterns. They demand precision and patience.
- Segmented Bowls: Combine different wood pieces. This technique creates stunning designs.
- Hollow Forms: Turn hollow forms with thin walls. They are challenging but rewarding.
These projects will test your skills and creativity. They are perfect for advanced turners looking for a challenge.
| Project | Skill Level | Key Skills Required |
|---|---|---|
| Wooden Pens | Beginner | Basic turning, finishing |
| Intricate Vases | Advanced | Precision, detailed turning |
Whether you are new to wood turning or an experienced turner, these projects will inspire you. Happy turning!
Troubleshooting Common Issues
Wood turning lathe projects are incredibly rewarding but can present challenges. Addressing common issues ensures your projects turn out beautifully. Below, we explore solutions to frequent problems like tool marks and shape irregularities.
Addressing Tool Marks
Tool marks can ruin the finish of your wood turning project. Here are steps to address them:
- Check Tool Sharpness: A dull tool leaves rough marks. Sharpen your tools regularly.
- Adjust Speed: Incorrect speed can cause tool marks. Match the lathe speed to your wood type.
- Use Proper Technique: Apply even pressure and maintain a consistent angle.
- Sand Properly: Start with coarse sandpaper and move to finer grits. Sand along the grain.
Correcting Shape Irregularities
Shape irregularities can occur due to several reasons. Here’s how to correct them:
- Measure Frequently: Regular measurements help maintain the desired shape.
- Use a Template: A template ensures uniformity in your design.
- Check Tool Position: Position your tool rest close to the wood for better control.
- Work Slowly: Take your time to avoid mistakes. Speed can lead to irregular shapes.
These tips help troubleshoot common issues in wood turning lathe projects, ensuring smoother and more accurate results.

Credit: www.youtube.com
Joining The Wood Turning Community
Joining the wood turning community can be a rewarding experience. You get to meet others who share your passion. You can learn new techniques and tips. The community can be found both locally and online. There are many ways to get involved.
Finding Local Workshops
Local workshops are a great way to start. They offer hands-on experience. You can find them through local art schools or community centers. Many woodworking stores also host classes. These workshops allow you to see techniques up close. You can ask questions and get immediate feedback.
| Resource | Details |
|---|---|
| Local Art Schools | Offer structured courses with skilled instructors. |
| Community Centers | Often have affordable classes for all skill levels. |
| Woodworking Stores | Provide specialized workshops and tool demos. |
Online Resources And Forums
The internet is full of valuable resources. Online forums are a great place to start. They offer advice, tips, and project ideas. Popular forums include:
- Woodworking Talk: A large community with many helpful members.
- LumberJocks: Great for sharing projects and getting feedback.
- Woodturning Online: Offers tutorials and a community forum.
Social media groups are also useful. Facebook and Reddit have active woodworking communities. These platforms allow you to connect with others easily. You can share your projects and get instant feedback.
Online courses can also be beneficial. Websites like Udemy and Skillshare offer video tutorials. These courses cover various skill levels. You can learn at your own pace and revisit lessons as needed.
Showcasing Your Work
Showcasing your wood turning lathe projects can attract attention. It helps you build a following and sell your creations. This section covers how to photograph your projects and sell them online.
Photographing Your Projects
Good photos can make your work shine. Use a clean background to highlight your project. Natural light brings out the true colors of the wood.
- Choose a neutral background like white or black.
- Use indirect natural light to avoid harsh shadows.
- Take multiple angles to showcase all details.
Editing your photos also helps. Use basic tools to adjust brightness and contrast.
| Editing Tip | Benefit |
|---|---|
| Crop | Removes distractions |
| Adjust brightness | Makes details clear |
| Increase contrast | Enhances color and texture |
Selling Your Creations Online
Selling online opens up many opportunities. You can reach a global audience. Create a profile on popular platforms like Etsy and eBay.
- Create a detailed listing with a clear title and description.
- Use high-quality photos from different angles.
- Set a fair price based on materials and time.
Promote your listings on social media. Use hashtags related to wood turning. Engage with potential buyers in comments and messages.
Consider setting up a personal website. A website can act as your online portfolio. It helps build your brand and credibility.
Frequently Asked Questions
What Is The Easiest Wood Turning Project?
The easiest wood turning project is making a simple wooden pen. Beginners find it manageable and rewarding. It requires minimal tools and materials. This project helps build basic skills quickly.
What Are The Best Woods To Turn On A Lathe?
The best woods for turning on a lathe include maple, cherry, walnut, and ash. These woods are stable and easy to work with, producing smooth finishes and intricate details.
Can You Make Money With A Wood Lathe?
Yes, you can make money with a wood lathe. Sell handmade items like bowls, pens, and furniture. Offer custom woodworking services. Teach woodturning classes. Utilize online marketplaces and local craft fairs. Build a strong portfolio to attract clients.
What To Use A Wood Lathe For?
Use a wood lathe for shaping, carving, and turning wood into bowls, spindles, and furniture parts. Ideal for detailed woodwork.
Conclusion
Wood turning lathe projects offer endless creativity and skill development. These projects can transform simple wood into art. Start experimenting with different designs and techniques. With practice, your craftsmanship will improve. Enjoy the process and the satisfaction of creating unique wooden pieces.
Happy turning!