Table of Contents
Turning pens on a lathe involves shaping wood or acrylic blanks into pen bodies. This process uses precision tools to achieve a smooth finish.
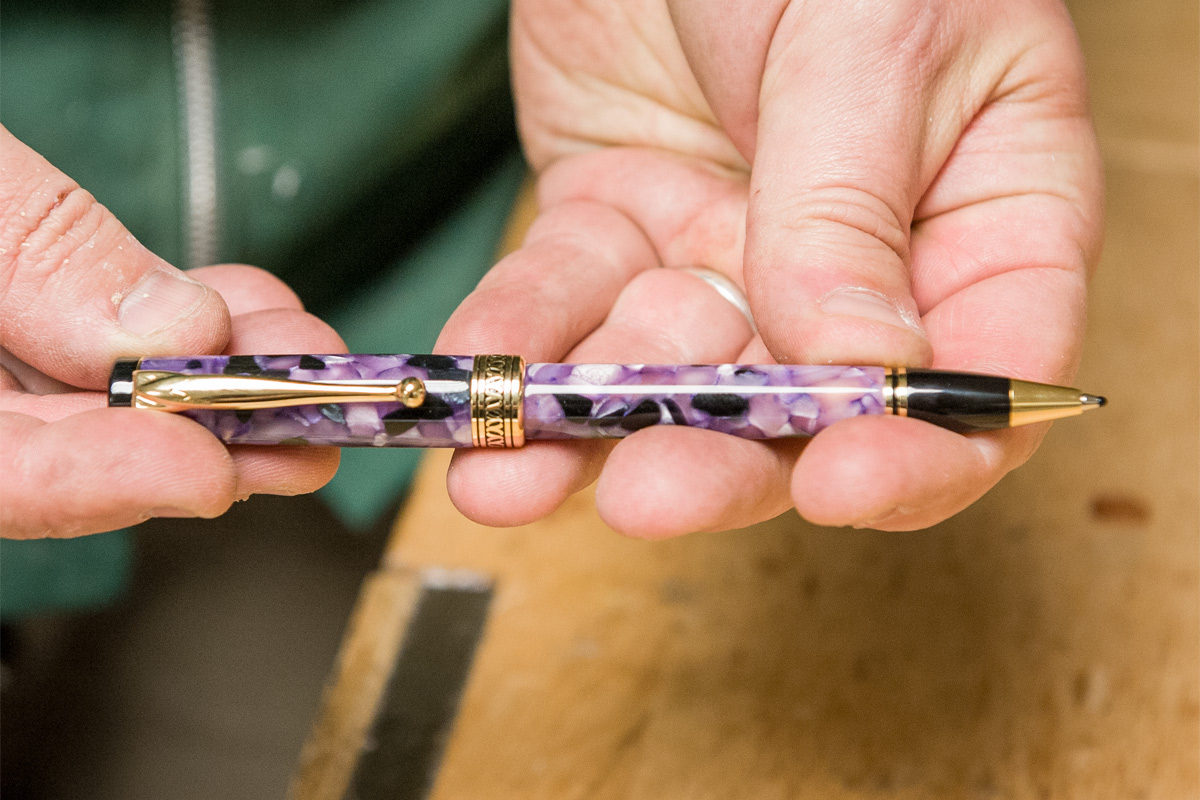
Creating custom pens on a lathe is a rewarding hobby for both beginners and experienced woodworkers. It requires a lathe, pen kits, and various tools to shape and polish the pen blanks. The process starts with selecting high-quality materials, ensuring durability and aesthetics.
After mounting the blank on the lathe, the wood or acrylic is carefully shaped using chisels and gouges. Sanding and polishing follow to achieve a smooth, glossy finish. Finally, assembling the pen components completes the process. This craft not only produces functional writing instruments but also allows for creative expression and unique designs.
The Art Of Pen Turning
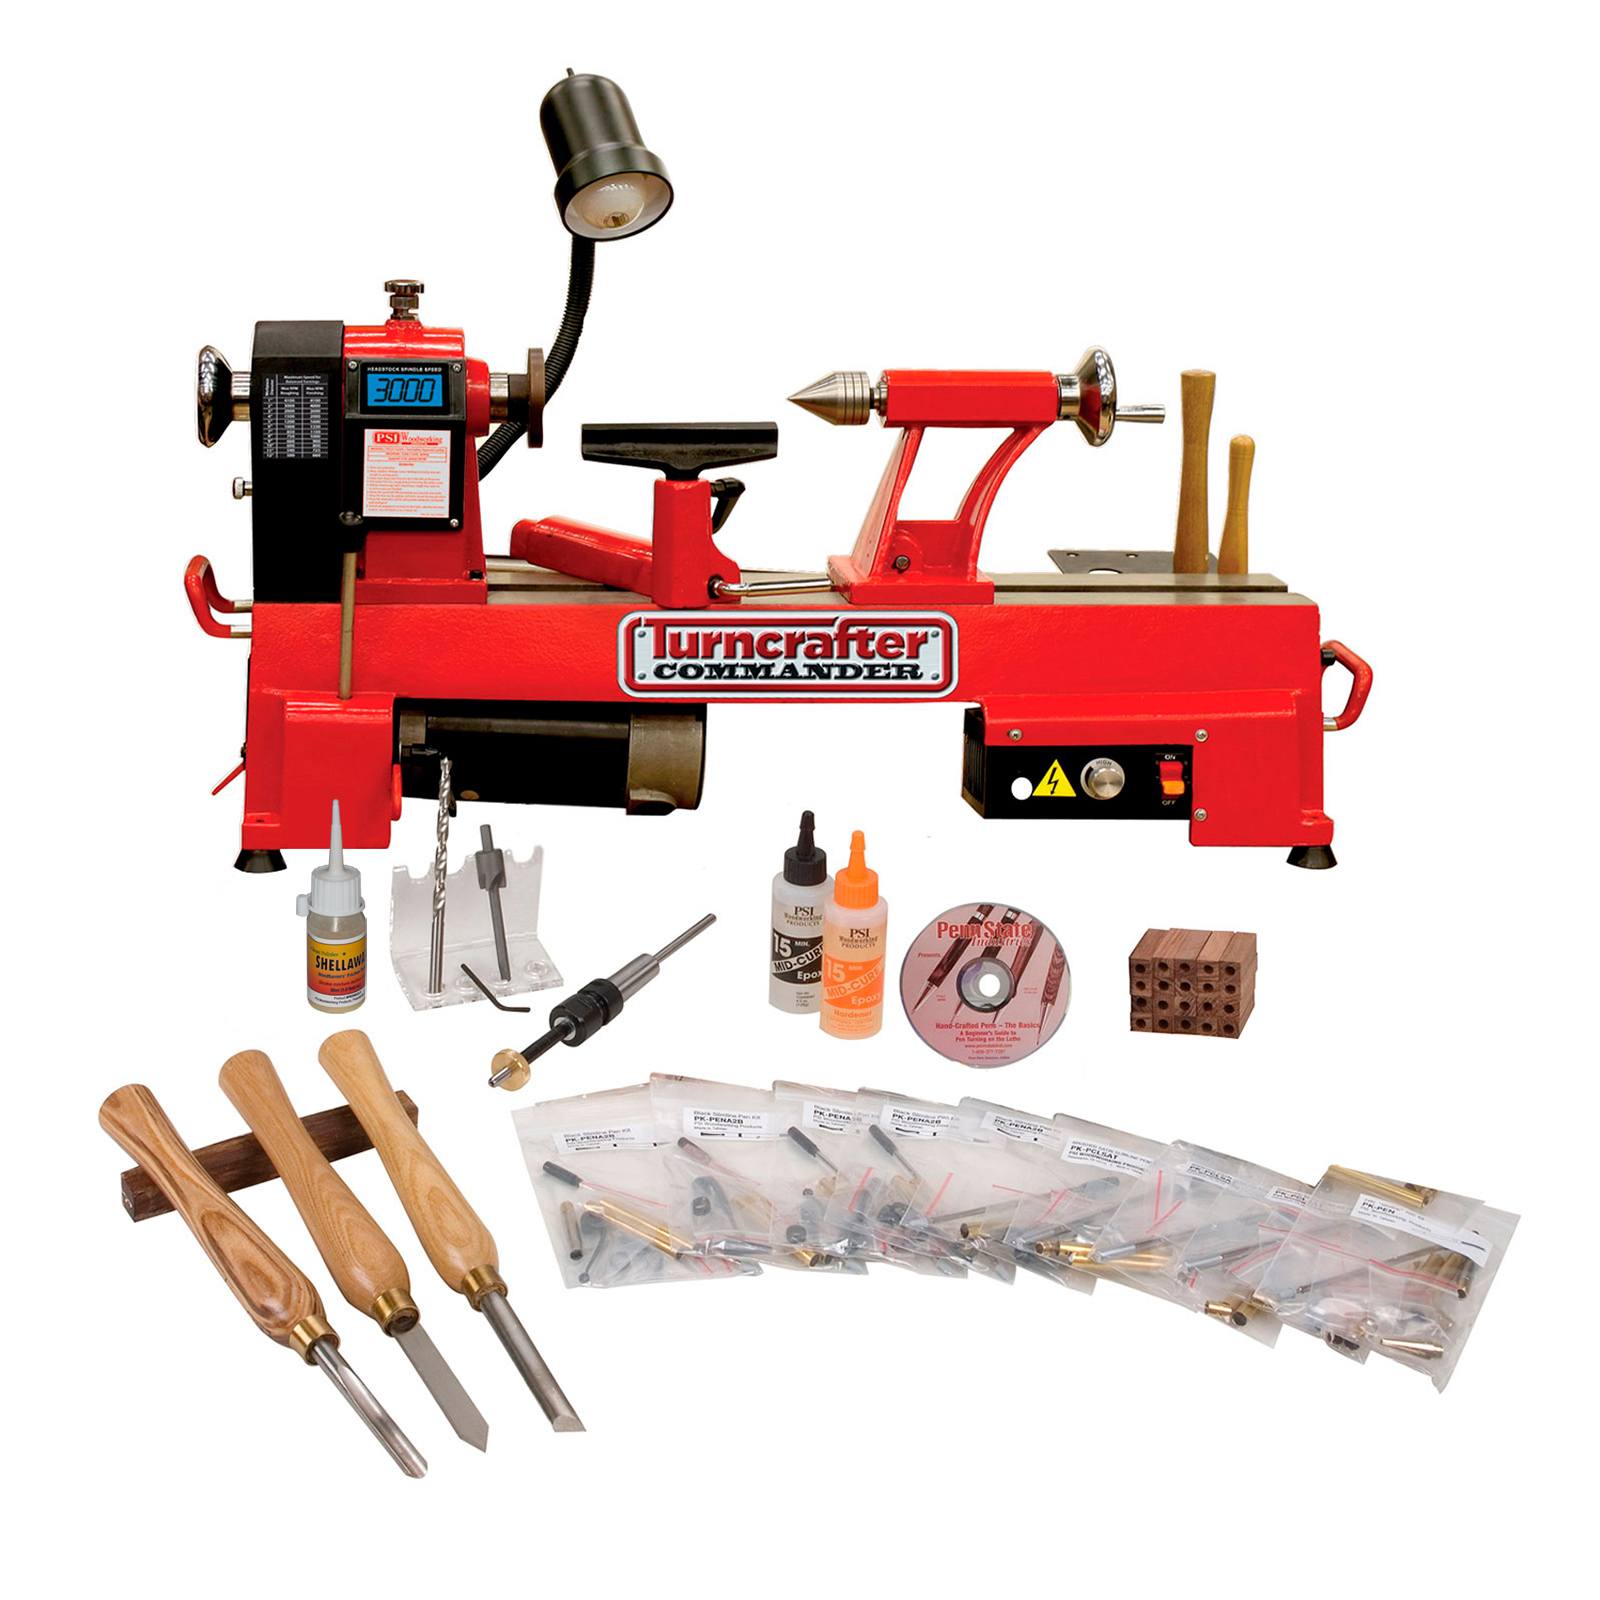
Choosing the right lathe is very important. A good lathe helps create smooth and fine pens. Look for a lathe that is sturdy and reliable. Small lathes are perfect for beginners. They take up less space and are easy to handle. Make sure the lathe has adjustable speeds. This helps in getting the perfect finish. Quality tools make the pen turning process enjoyable. Always invest in good tools for the best results.
Pen turning has a long history. People have been crafting pens for many years. It started as a hobby and grew in popularity. Today, many people enjoy pen turning. It is a relaxing and rewarding craft. Crafting a pen is like creating a piece of art. Each pen is unique and special. This makes pen turning a popular pastime for many.

Credit: www.axminstertools.com
Selecting Materials
Maple wood is a popular choice for turning pens. It has a smooth grain. Oak wood is also excellent. It is very strong and durable. Cherry wood offers a rich color. It darkens over time. Walnut wood is another great option. It has a deep, dark hue. Each type of wood has unique characteristics.
Acrylic blanks are bright and colorful. They offer a shiny finish. Metal blanks are sturdy and long-lasting. They add a sleek look. Resin blanks can be custom-made. They allow for endless designs. Stone blanks are unique and natural. They provide a luxurious feel. These materials provide many creative options.
Tools Of The Trade
Using a lathe needs some key tools. First, get a good set of turning tools. Next, have a face shield for safety. A pen mandrel holds the pen blank in place. Bushings help you shape the pen parts. Sandpaper of various grits smooths the surface. A bench vise is useful for many tasks. Use a wood blank to start your pen project. Finish it with a polish or wax for a shiny look.
Sharp tools make turning easier. Use a grinder to sharpen. Keep a sharpening jig for better control. Always sharpen tools before each use. A honing stone helps keep the edge fine. Check the sharpness often while working. Sharp tools give a cleaner cut. This means less sanding later.
Preparing The Blank
Crafting a pen on a lathe begins with preparing the blank. Secure the blank properly to ensure smooth turning and optimal results.
Cutting And Sizing
Start by choosing a piece of wood for your pen. Make sure the wood is free from cracks. Use a saw to cut the wood to the correct length. The length should match the pen kit instructions. Sand the ends to remove any splinters. Ensure the blank is perfectly square. This helps in drilling the central hole later.
Drilling The Central Hole
Secure the blank in a vice. Use a drill press for best results. Mark the center of the blank on both ends. Align the drill bit with the center mark. Drill slowly to avoid splitting the wood. Ensure the hole is straight and even. The hole should be the same size as the pen tube. Insert the tube to check the fit. Sand the edges if necessary.
Mounting The Blank
Start by cutting the blank to size. Use a saw to make it the right length. Next, drill a hole through the center of the blank. Ensure the hole is straight. This will help the pen parts fit well later.
Insert a pen tube into the drilled hole. Use glue to keep it in place. Let the glue dry fully. Then, use a pen mill to trim the ends of the blank. This makes sure the ends are smooth and even.
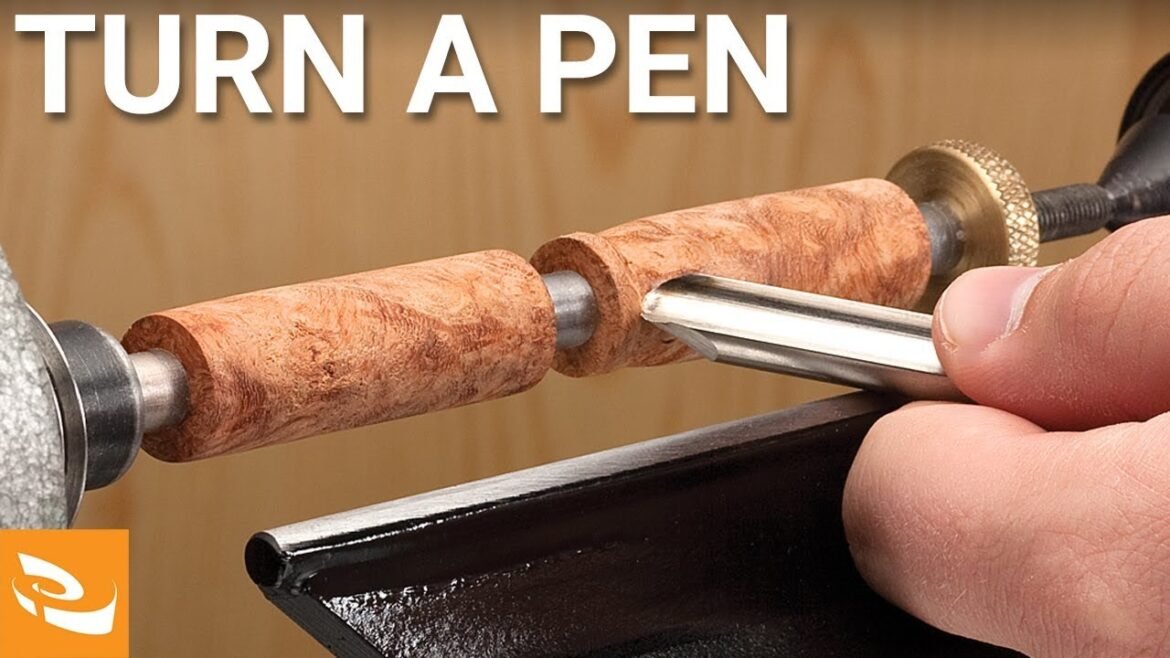
Place the blank on the lathe. Make sure it is tight and secure. Align the blank so it spins evenly. This will help in achieving a smooth finish. Turn the lathe on at a slow speed first. Check if the blank spins true. If it wobbles, adjust it again.

Credit: www.youtube.com
Shaping The Pen
Use sharp tools for smooth cuts. Keep the lathe speed consistent. Apply light pressure to avoid gouges. Sand progressively from coarse to fine grit. Stop and check your progress often. This ensures a balanced shape. Maintain a steady hand for even surface.
Custom profiles make each pen unique. Use templates to guide your cuts. Experiment with different shapes. Combine curves and straight lines for variety. Symmetry is important for a professional look. Finish with fine details for a polished appearance.
Sanding And Finishing
Start with coarse sandpaper to remove rough spots. Gradually move to finer grits. Each grit smoothens the surface more. Use 150-grit, then 220-grit, and finally 400-grit. Always sand along the grain of the wood. This prevents scratches. Keep the lathe running at a slow speed. Clean the surface after each grit. Dust can ruin your finish.
Choose a finish like wax or lacquer. Wax gives a natural look. Lacquer provides a high-gloss shine. Apply a thin coat first. Let it dry completely. Lightly sand with very fine sandpaper between coats. This ensures a smooth finish. Apply multiple coats for durability. Buff the final coat for extra shine. Use a soft cloth to avoid scratches.
Assembly And Presentation
Crafting a pen on a lathe involves precise assembly and presentation. Mastery of these steps ensures a stunning and functional writing instrument.
Piecing Together Components
Gather all the pen parts before assembly. Align each component carefully. Insert the ink refill into the pen barrel. Press the tip into the barrel end. Attach the clip to the top part. Ensure all parts fit snugly.
Tips For Professional Presentation
- Polish the finished pen for a shiny look.
- Use a soft cloth to avoid scratches.
- Package the pen in an elegant box.
- Label the pen with your brand name.
- Include a card with care instructions.
Advanced Techniques
Inlays and embellishments add beauty to pens. Use different materials like wood and metal. Cut small grooves in the pen blank. Fit the materials into these grooves. Sand the pen carefully to make it smooth. Epoxy works well to hold inlays in place. Use contrasting colors for a unique look. Practice makes perfect. Keep trying different designs.
Matching pen sets look professional. Use the same wood or material for all pens. Cut all blanks to the same size. Turn each pen to the same shape. Sand and finish each pen identically. Consistent finishes make the set look uniform. Use the same hardware for each pen. Pay attention to small details.
Maintenance And Care
Regularly clean and lubricate your lathe to ensure smooth operation. Inspect cutting tools for sharpness and replace them as needed. Proper maintenance extends the life of your pen-turning equipment.
Caring For Your Lathe
Always keep your lathe clean. Wipe it down after every use. Check for loose parts regularly. Tighten screws and bolts as needed. Lubricate moving parts to avoid rust. Use a soft cloth for cleaning.
Long-term Pen Maintenance
Store your pens in a cool, dry place. Avoid exposing them to extreme temperatures. Keep pens away from direct sunlight. Refill ink before it runs out. Clean the nib and feed regularly. Use a soft cloth to polish the pen body.
Joining The Community
Discover the joy of turning pens on a lathe by joining our vibrant community. Share techniques, tips, and creative ideas with fellow enthusiasts.
Resources For Learning And Sharing
Many beginners start by watching YouTube videos. There are countless tutorials and tips. Online forums are also a great resource. Experienced pen turners share their knowledge and answer questions. Check out Facebook groups dedicated to pen turning. They often feature project showcases and live demonstrations.
Pen Turning Events And Competitions
Local woodworking clubs often host events. These events include pen turning competitions. They are a great way to meet fellow enthusiasts. Trade shows also feature pen turning demonstrations. Some events are even international. Competitions offer prizes and recognition. Participating can improve your skills and confidence.

Credit: www.pennstateind.com
Frequently Asked Questions
What Speed Do You Turn Pens On A Lathe?
Turn pens on a lathe at speeds between 3,000 to 4,000 RPM. Higher speeds ensure smoother finishes. Adjust speed based on wood density.
What Is The Best Lathe For Pen Turning?
The Jet JWL-1221VS is the best lathe for pen turning. It offers variable speed, stability, and precision.
Can You Turn Pens On A Big Lathe?
Yes, you can turn pens on a big lathe. Use appropriate tools and adjust settings for precise work.
What Speed Do You Turn Bowls On A Lathe?
Turn bowls on a lathe at 500 to 1000 RPM. Use lower speeds for larger bowls and higher speeds for smaller ones. Always prioritize safety.
Conclusion
Crafting pens on a lathe offers a rewarding and creative experience. This hobby combines precision, artistry, and skill. With practice, you can produce beautiful, unique pens. It’s a fulfilling way to spend your time and create gifts. Embrace the craft, and enjoy every step of the process.
Happy turning!
