
Table of Contents
Turning a pen on a lathe involves shaping a pen blank into a smooth, cylindrical form. This process requires precision and the right tools.
Turning a pen on a lathe is a rewarding woodworking project. Hobbyists and professionals alike enjoy creating custom, handcrafted pens. The process starts with selecting a suitable pen blank, which can be made of wood, acrylic, or other materials. Secure the blank onto the lathe and use various cutting tools to shape it.
Sanding and polishing follow to achieve a smooth finish. Finally, assemble the pen components. This project not only hones your woodworking skills but also results in a unique, functional piece of art. Whether for personal use or as a gift, a handcrafted pen adds a touch of craftsmanship to your writing experience.
The Art Of Pen Turning On A Lathe
Pen turning started many years ago. Woodworkers loved creating beautiful pens. This craft became popular quickly. People enjoy making unique, hand-crafted pens. These pens make great gifts. Many people sell their pens at craft fairs. Pen turning is now a beloved hobby worldwide.
Making your own pen is fun. It helps you relax and focus. You can create a pen that is unique. Hand-crafted pens are special. They can be customized for friends and family. Crafting pens can save money too. It is a rewarding hobby that shows off your skills.
Essential Tools And Materials
Choosing the right lathe is crucial for pen turning. A mini lathe is ideal for beginners. It offers enough power and precision. Look for a lathe with variable speed control. This feature helps manage different wood types. A sturdy lathe ensures smooth operation.
Pen kits come in various styles and finishes. They include all necessary parts. Brass tubes, pen mechanisms, and clips are common. Wood blanks are popular for their natural look. Acrylic blanks offer vibrant colors and patterns. Hybrid blanks combine wood and resin. Each type has unique turning properties.
Essential tools include a sharp chisel set. Use gouges, parting tools, and skew chisels. A mandrel holds the pen blank steady. Sandpaper smooths the surface. Various grits are needed. Polishing compounds add a shiny finish. A pen press assembles the final pen.
Preparing The Pen Blanks
Start by selecting quality pen blanks to ensure a smooth turning process. Trim the blanks to the desired length and drill a centered hole. Securely glue the brass tubes inside, allowing them to dry completely before proceeding.
Measuring And Cutting To Size
Measure the pen blanks carefully. Use a ruler to get the right length. Make sure to cut the blanks to the correct size. A saw can help you make straight cuts. Double-check your measurements to avoid mistakes. The blanks should be even and smooth.
Drilling The Center Hole
Find the center of each blank. Mark it clearly with a pencil. Use a drill press for accuracy. Drill a hole straight through the center. The hole should be clean and straight. This step is crucial for a well-balanced pen.
Gluing The Tube Insert
Apply glue inside the drilled hole. Insert the tube quickly. Make sure the tube is centered. Wipe off any extra glue. Let the glue dry completely. This step ensures the pen parts stay together.
Mounting The Blank On The Lathe
Place the pen blank in the lathe chuck. Make sure it is centered. Tighten the chuck securely. Use a tailstock for extra support. This keeps the blank steady. Check that the blank does not wobble. A wobbly blank causes errors. Always double-check the tightness.
Set the tool rest close to the blank. It should be about 1/8 inch away. The tool rest must be parallel to the blank. This ensures smooth cuts. Adjust the height of the tool rest. It should be level with the center of the blank. Test the setup before starting. Make small adjustments if needed. Safety comes first.
Shaping The Pen With Turning Techniques
Start by securing the pen blank on the lathe. Use a roughing gouge to shape the blank. Remove excess material carefully. Make sure to keep the tool steady. Rotate the blank slowly at first. Increase the speed gradually. Aim for a smooth and even surface. Be patient during this process.
Switch to a spindle gouge for finer cuts. Shape the pen to your liking. Create curves and contours as needed. Check the profile frequently. Sand the pen with fine-grit sandpaper. Ensure the surface is smooth. Apply a finish for shine and protection. Let the finish dry completely. Your pen is now ready for assembly.
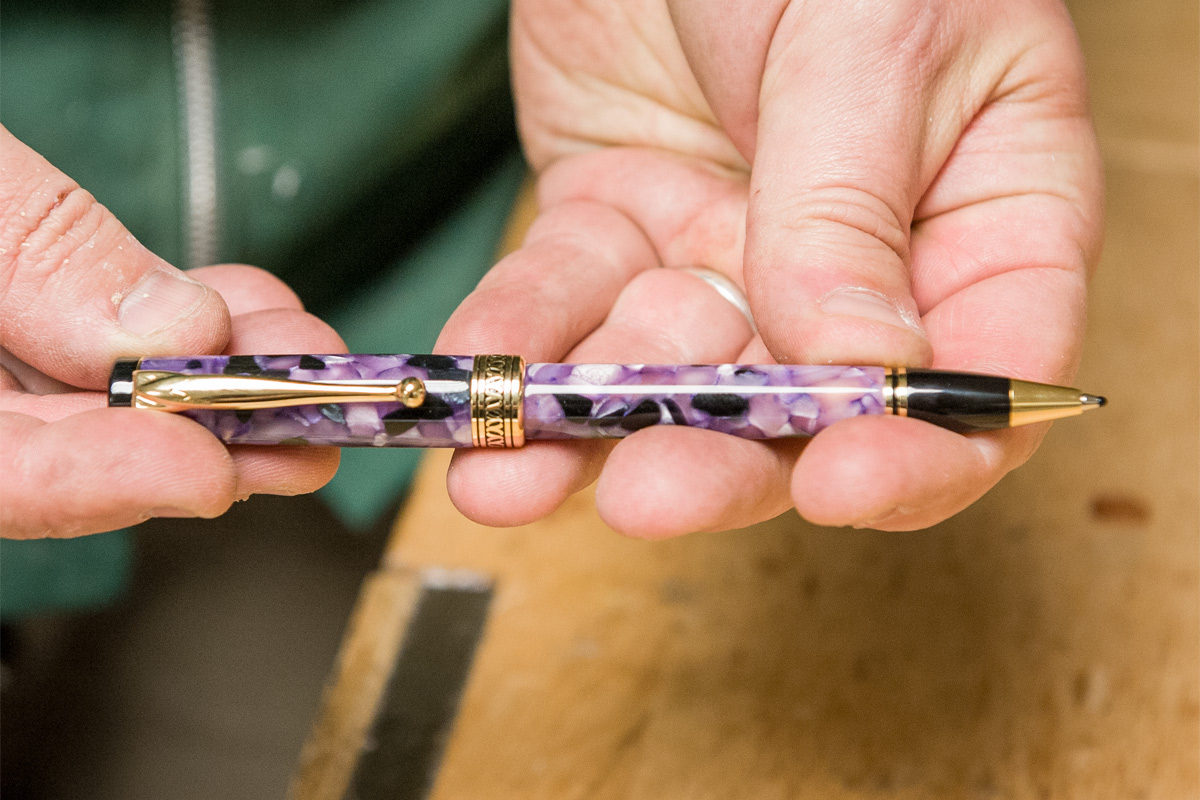
Credit: www.axminstertools.com
Sanding And Polishing
Sanding and polishing perfect the pen’s surface, ensuring a smooth and shiny finish. Achieve a professional look by gradually using finer grits.
Graduated Sanding Process
Start with coarse sandpaper. Move from 150-grit to 220-grit. Use even strokes. This removes rough spots. Next, use 320-grit sandpaper. It smooths the pen further. Finally, use 400-grit sandpaper. This makes the pen very smooth. Always sand with the grain. This prevents scratches. Take your time. A smooth pen looks better.
Applying The Finish For A Smooth Feel
Choose a good finish. Apply thin coats evenly. Let each coat dry. Buff the pen with a soft cloth. This adds shine. Repeat the process. Several coats make a smooth finish. Use wax for extra shine. Rub it in well. Your pen will feel great in hand.
Assembling The Pen Components
Press each part gently but firmly. Use a pen press or a clamp. Align the parts carefully to avoid damage. Make sure the pieces fit snugly together. A tight fit ensures the pen works well.
Test the pen after assembly. Check the ink flow by writing a few lines. The pen should write smoothly without skips. Twist or click the pen to see if it functions properly. Adjust any loose parts to make sure everything is secure. A well-assembled pen will last longer and write better.
Customization And Personal Touches
Crafting a pen on a lathe allows for unique customization and personal touches, creating a one-of-a-kind writing instrument. Tailor materials, colors, and finishes to reflect individual style and preferences.
Adding Unique Design Elements
Customizing a pen makes it special. You can add unique designs to the pen. Use different types of wood or materials. Choose colorful resins to make it shine. Try adding metal accents for a stylish look. Mixing materials can create a one-of-a-kind pen. Patterns can be simple or complex. You can even add inlays for extra flair. Your creativity is the limit.
Engraving And Final Accents
Engraving adds a personal touch. You can engrave names or special messages. Use a laser engraver for precision. Hand engraving works too. Final accents can include polishing the pen. A glossy finish makes it look professional. Use wax for a smooth feel. Adding a clip can be useful. These small touches make the pen unique.
Troubleshooting Common Issues
Use sharp tools to avoid splitting blanks. Slow speed helps prevent damage. Inspect wood for cracks before starting. Glue cracks if found, then let dry. Apply even pressure while turning. Reduce vibration to keep the blank safe. Sand carefully to prevent splits. Practice makes it easier to avoid splits.
Align parts carefully to avoid mistakes. Use proper tools for assembly. Don’t force parts together. Check fit before final assembly. Lubricate parts if needed. Follow instructions closely. Double-check measurements for accuracy. Test fit parts to ensure smooth assembly. Use clamps to hold parts steady. Work slowly to avoid errors.
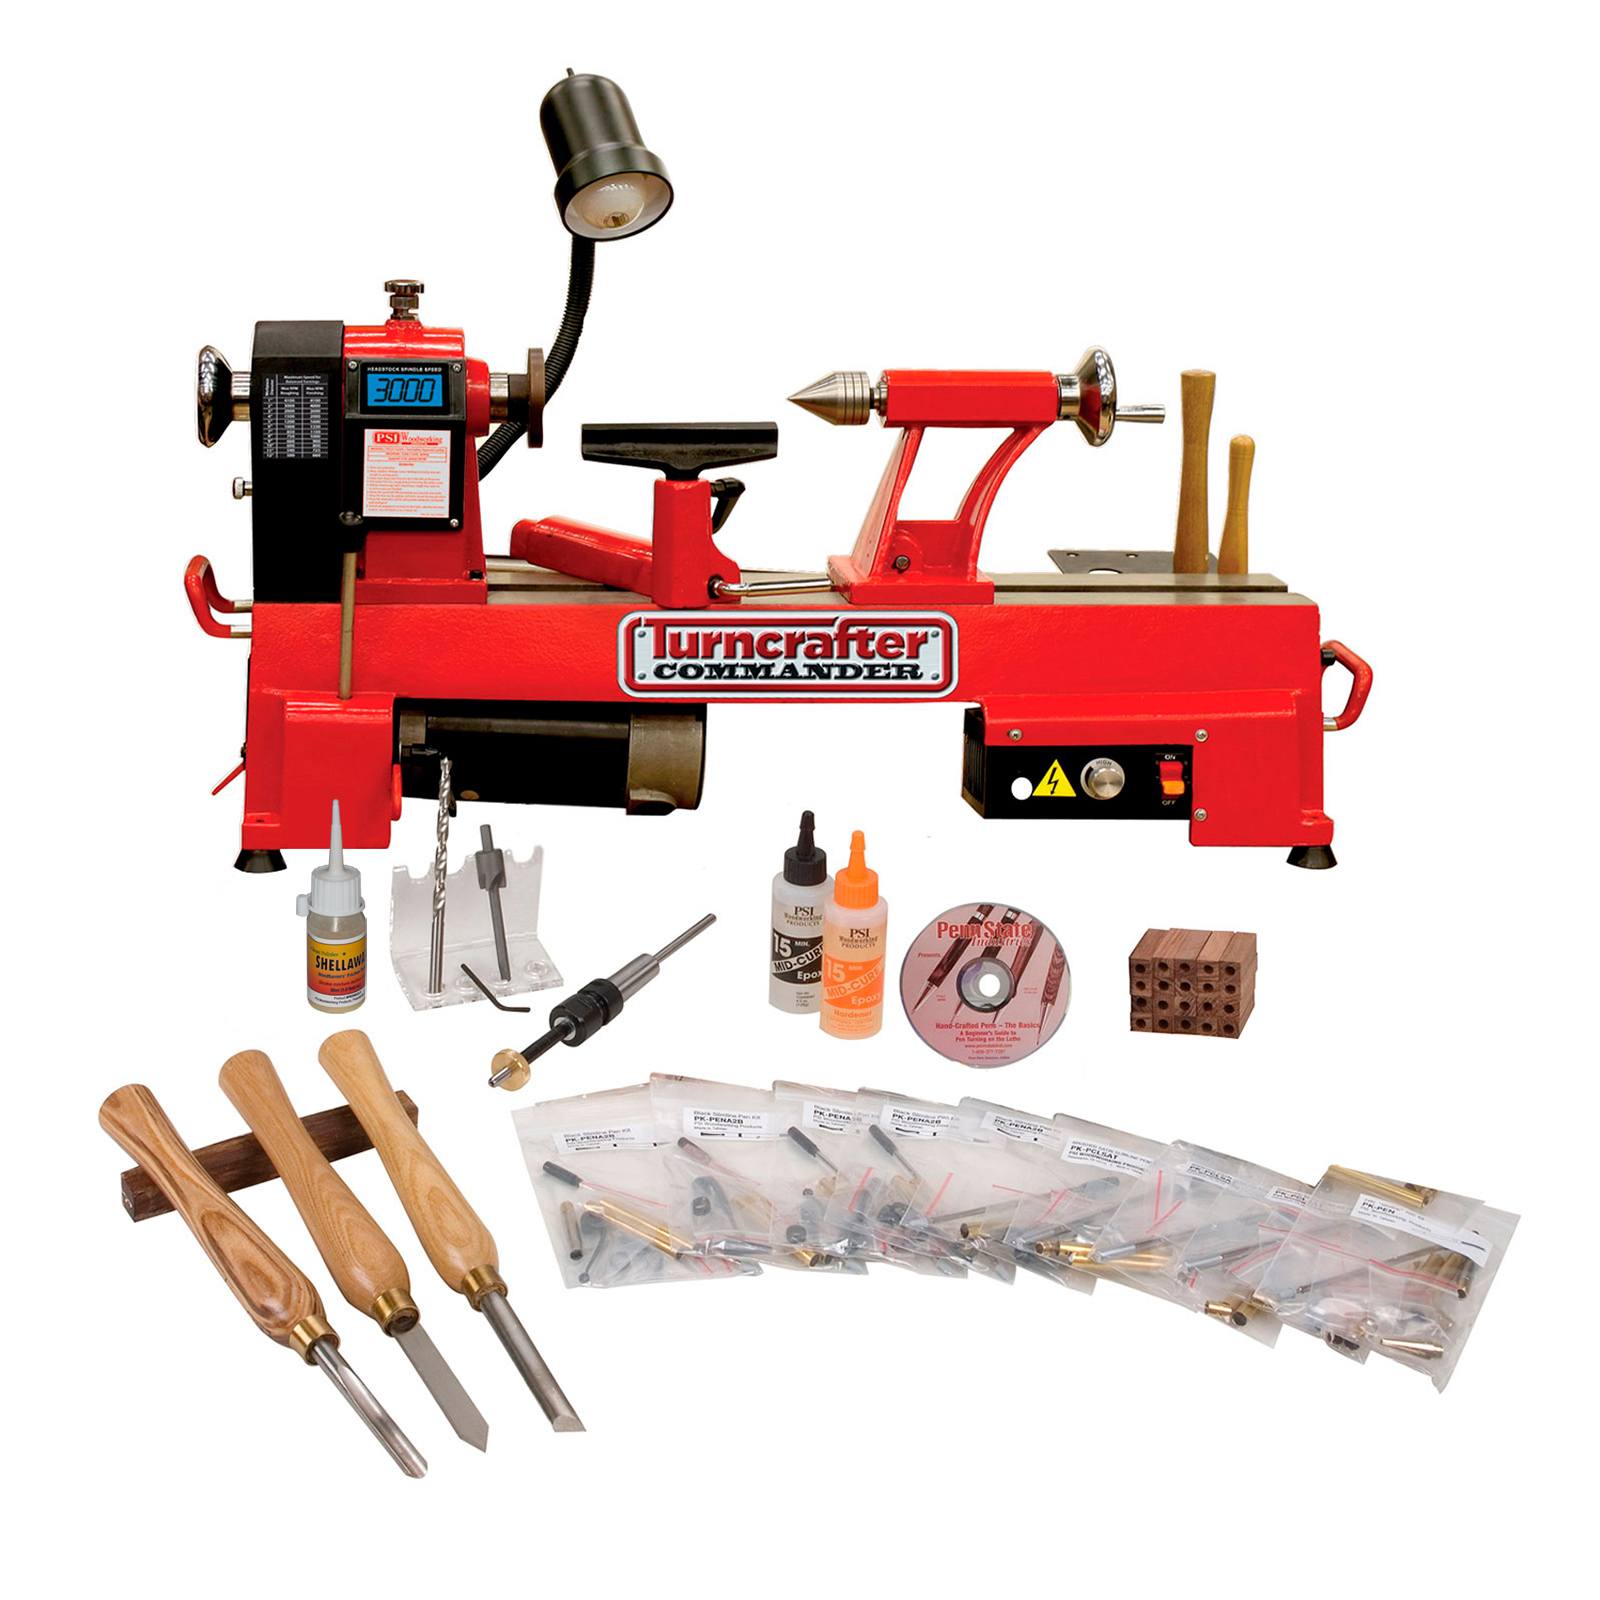
Credit: www.pennstateind.com
Advanced Techniques And Tips
Exotic materials can make your pen unique. Burl wood and resins are popular choices. These materials offer stunning patterns and colors. Always use sharp tools. This helps avoid tearing the material. Take light cuts to prevent chipping. Stabilize the material if needed. This adds strength and reduces cracks. Wear safety gear. Some exotic materials can be toxic.
A perfect fit is crucial. Measure twice, cut once. Sand the blank to match the pen kit parts. Use high-grit sandpaper for a smooth finish. Apply a thin coat of CA glue. This will seal the wood and add shine. Buff the pen with a microfiber cloth. This removes any dust and adds a final polish. Store your pen properly. This keeps the finish looking new.
Showcasing And Selling Your Handcrafted Pens
Your pens need to look attractive. Use a well-lit display case. Make sure each pen is visible. Group similar pens together. This makes it easier for people to choose. Adding a small sign can help. Write the name and price of each pen. A nice background can make your display pop. Velvet or wood works well. Keep everything clean and dust-free.
Photos of your pens should be clear. Share these photos on social media. Use platforms like Instagram and Facebook. Write short captions for each photo. Tell a little story about each pen. Attend local craft fairs and markets. Bring business cards with you. Offer special deals for first-time buyers. Word of mouth can be very powerful. Ask happy customers to spread the word.
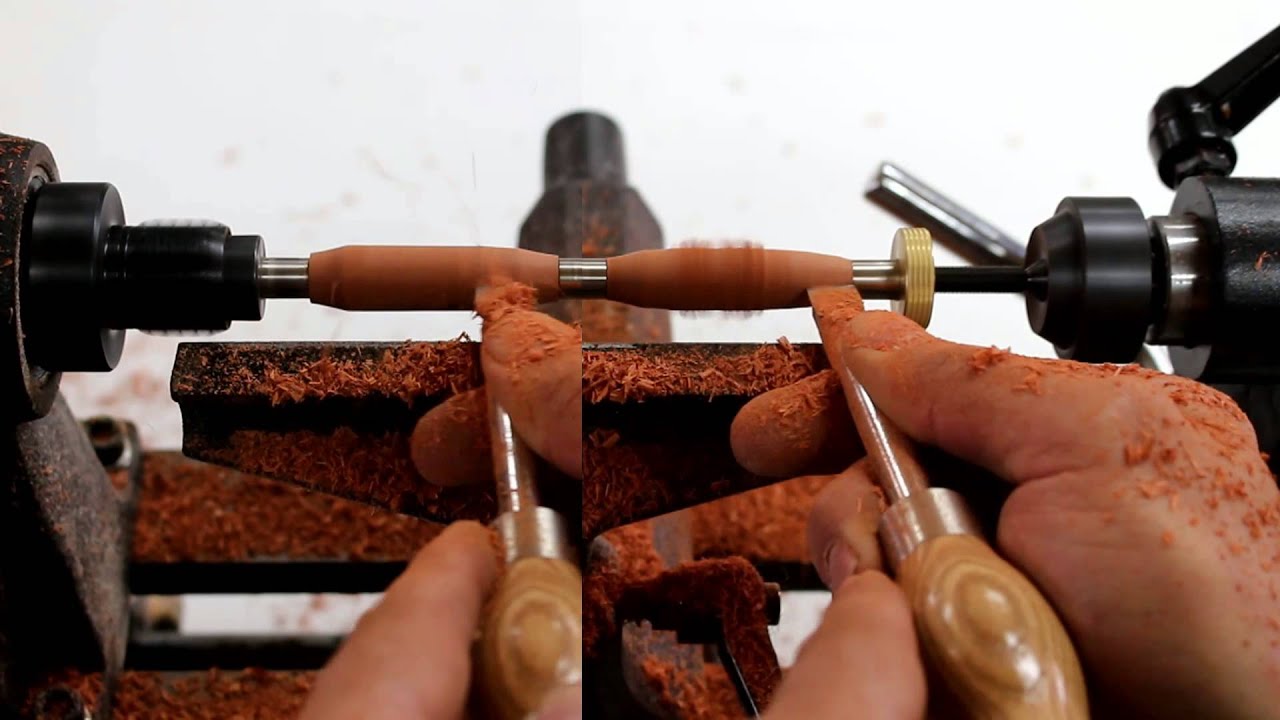
Credit: www.youtube.com
Frequently Asked Questions
What Speed Do You Turn Pens On A Lathe?
Turn pens on a lathe at speeds between 3,000 to 4,000 RPM. Higher speeds ensure smoother finishes and precise cuts. Adjust speed based on wood type and tool sharpness.
What Is The Best Lathe For Pen Turning?
The best lathe for pen turning is the Jet JWL-1015. It offers precision, durability, and user-friendly features.
Can You Turn Pens On A Big Lathe?
Yes, you can turn pens on a big lathe. Use appropriate tools and ensure precise control for best results.
How Long Does It Take To Turn A Pen?
Turning a pen typically takes 1-2 hours. This includes cutting, shaping, sanding, and finishing the pen.
Conclusion
Mastering the art of turning a pen on a lathe is a rewarding endeavor. This skill enhances creativity and craftsmanship. With practice, anyone can create unique, personalized pens. Enjoy the process and let your imagination guide you. Your journey in pen turning can be both fun and fulfilling.