
Table of Contents
Pen turning is a craft where artisans shape and design pens using a lathe. It involves creativity and precision.
Pen turning has gained popularity among hobbyists and professional woodworkers alike. This craft allows individuals to create custom, unique writing instruments. Artisans use materials like wood, acrylic, and metal to design pens that reflect personal style. The process involves careful selection of materials, turning them on a lathe, and finishing them to a high polish.
Pen turning not only provides a creative outlet but also results in functional pieces of art. Whether for personal use or as gifts, hand-turned pens offer a touch of craftsmanship and elegance. This hobby combines artistic expression with practical skills, making it a fulfilling and rewarding activity.
Introduction To Pen Turning
Pen turning is a fun hobby. It allows you to make unique writing tools. You can choose different woods and materials. Each pen becomes a piece of art. Making pens also helps you relax. You focus on crafting something special. Many people find it very rewarding. Some even turn it into a small business. Custom pens make great gifts too. Friends and family love getting handmade pens.
Creating your own pens saves money. Store-bought pens can be expensive. Handmade pens are often better quality. They last longer and write smoother. Crafting pens is also a great way to learn new skills. You can improve your hand-eye coordination. It also helps boost your creativity. Making pens can be a social activity too. Join a pen turning group and share tips. Enjoy the process and make new friends.
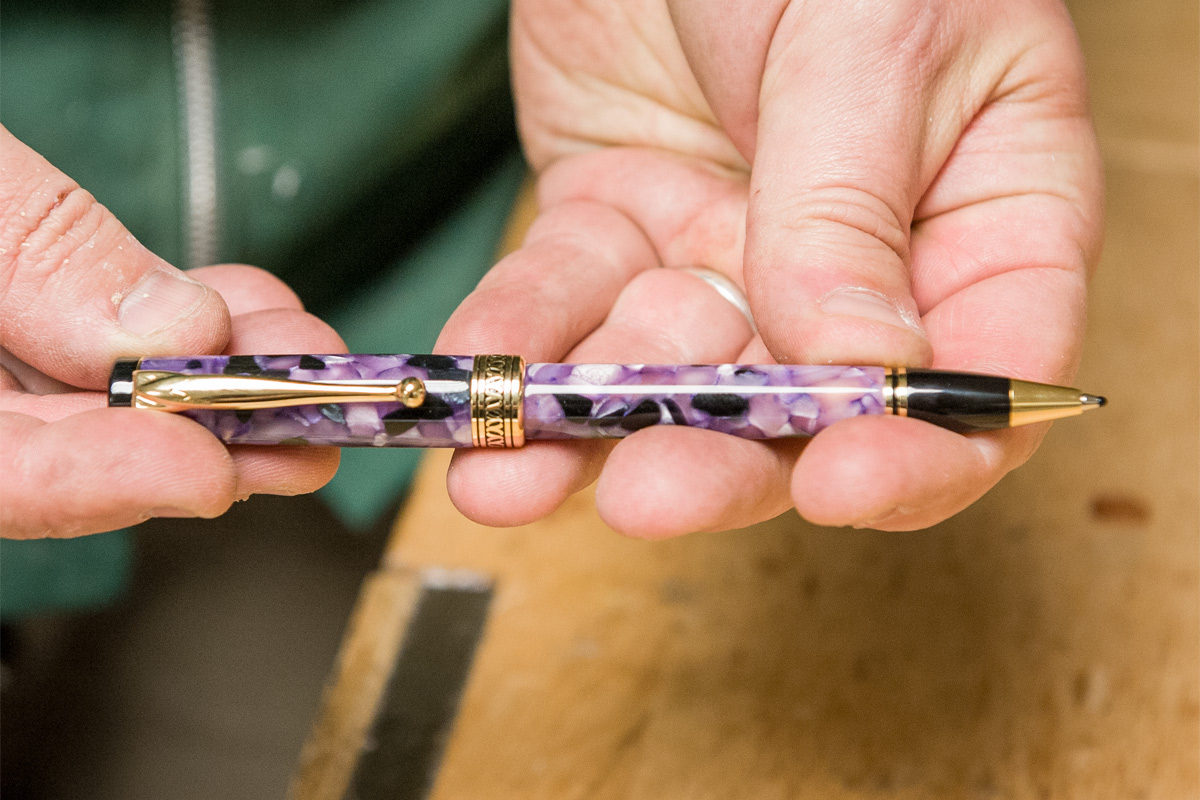
Credit: www.axminstertools.com
Setting Up Your Workspace
You need some important tools and materials. A lathe is the main tool for pen turning. Use sharp chisels for smooth cuts. Sandpaper helps in finishing the pen. Safety goggles protect your eyes. A dust mask keeps your lungs safe. You also need pen kits and wood blanks.
Keep your workspace clean and organized. Place tools within easy reach. Use good lighting to see better. Secure your lathe to a sturdy bench. Always wear safety gear. Keep a fire extinguisher nearby. Proper ventilation is also important. This helps remove dust and fumes.
Selecting The Right Materials
Wood offers a classic feel. Popular choices include walnut, maple, and rosewood. These woods are easy to turn and finish. They also have beautiful grain patterns. Acrylics, on the other hand, come in bright colors. They are often swirled or mixed with glitter. Acrylic blanks create eye-catching pens. Unlike wood, they do not need a finish.
Pen blanks need to be durable and stable. They should resist cracking and splitting. Wood blanks need to be dry to avoid warping. Acrylic blanks should be free from air bubbles. Both types should be easy to cut and shape. This ensures a smooth turning process. Choose blanks that inspire creativity. The right blank makes a big difference.

Credit: sw-sw.org
Preparing The Pen Blanks
Preparing the pen blanks is a crucial step in pen turning. Carefully select and cut the blanks to the desired size for optimal results. Ensure each blank is drilled accurately to house the pen components.
Cutting To Size
Begin by measuring the pen blanks. Use a ruler for accuracy. Mark the desired length with a pencil. Next, use a saw to cut the blanks. Ensure the cuts are straight and clean. Sand the edges to remove rough spots. A smooth surface helps in the next steps. Always wear safety glasses while cutting. This prevents injuries from flying debris.
Drilling The Center Hole
Secure the blank in a vise. This keeps it stable during drilling. Choose a drill bit that matches the pen kit. Mark the center of the blank. Start drilling slowly to avoid splits. Keep the drill bit straight. This ensures a centered hole. Clean out wood shavings regularly. They can cause the drill to jam. Wear safety goggles for protection.
Mounting And Shaping Techniques
Use a strong mandrel to hold the pen blanks. Ensure the blanks are tight and secure. Always check for stability before starting the lathe. A loose blank can be dangerous. Spacer bushings help keep the blanks steady. Use a tailstock for extra support. This prevents any wobbling. Never rush this step. Safety should be a priority.
Start with a roughing gouge to shape the blank. Move the chisel smoothly along the wood. Apply light pressure to avoid tearing. For finer details, switch to a spindle gouge. This tool helps create intricate designs. Skew chisels are great for clean cuts. Always keep your chisels sharp. Dull tools make the work harder. Practice different techniques to improve your skills.

Credit: www.amazon.com
Sanding And Finishing
Start with coarse sandpaper. This will remove rough spots. Use 100-grit paper first. Move to 150-grit next. Then, use 220-grit sandpaper. Each step makes the surface smoother. Finally, finish with 400-grit paper. The pen should feel very smooth now.
Choose a finish like lacquer or wax. Lacquer is tough and shiny. Wax gives a softer glow. Apply a thin coat first. Let it dry completely. Sand lightly between coats. Add 2-3 more coats for best results. Your pen will look amazing and last long.
Assembling The Pen Components
Assembling the pen components involves carefully aligning and fitting each part together. Ensure a snug fit for a seamless finish. Proper assembly guarantees a functional and aesthetically pleasing pen.
Pressing Parts Together
Start with the pen tube and the nib. Align them carefully. Press them together gently. Use a pen press or a vice. Make sure not to scratch the pen. Next, take the clip and the cap. Insert the clip into the cap. Press the cap onto the other end of the tube. Ensure it fits snugly. Finally, attach the pen mechanism. Insert it into the tube. Twist it to make sure it works. Your pen is almost ready.
Ensuring Proper Function
Test the pen’s mechanism. Turn it to see if the tip comes out. Check if it writes smoothly. Adjust any loose parts. Tighten them if necessary. Make sure the pen is comfortable to hold. Inspect the pen for any defects. Fix them before using or gifting the pen. A well-assembled pen brings joy to its user.
Advanced Pen Turning Skills
Inlays and embellishments make pens look unique. They can be made from metal, wood, or stone. First, cut a groove in the pen blank. Next, place the inlay into the groove. Ensure it fits snugly. Use glue to hold it in place. Sand the pen blank until it is smooth. Finally, apply a finish to make it shine.
Segmented designs involve piecing different materials together. Choose contrasting colors for a striking look. Cut the materials into segments. Arrange them in a pattern. Glue the pieces together. Once dry, turn the blank on the lathe. Shape it to your desired design. Sand the pen until it is smooth. Finish with a polish for a glossy effect.
Troubleshooting Common Issues
Cracks can spoil your pen. Use wood filler to fix small cracks. Let the filler dry. Sand the area gently. For blemishes, apply a thin layer of polish. Buff the surface until it shines. Repeat if needed. Always work slowly. Rushing can cause more damage. Inspect your pen carefully before starting.
Ensure all parts fit well. Check the pen’s cap. It should click smoothly. Sand down any tight spots. Test the pen’s mechanism. It should operate without sticking. Adjust the clip if it’s loose. Tighten screws if needed. Balance the pen for comfortable writing.
Marketing Your Handcrafted Pens
Good photos help sell more pens. Use natural light for clear pictures. Place your pen on a plain background. Make sure the pen is the main focus. Take photos from different angles. Show close-ups of the details. Use a good camera or a smartphone. Edit the photos to look sharp and bright. Clean the lens before taking photos.
Sell your pens on websites like Etsy or eBay. Create a simple online store. Write clear descriptions of your pens. Use keywords like “handcrafted pen” and “unique gift” in the title. Respond quickly to customer questions. Pack and ship the pens carefully. Attend local craft shows. Display your pens neatly. Talk to visitors and explain the process. Hand out business cards with your contact info.
Maintaining Your Equipment
Clean tools after each use. Dirt and debris can dull them. Use a soft cloth to wipe them down. Sharp tools cut better and last longer. Sharpen them often. A dull tool is unsafe. It can slip and cause injury. Always check for sharpness before use.
Keep the lathe free of dust. Dust can damage the motor. Lubricate moving parts regularly. Proper lubrication prevents wear. Check belts for any signs of wear. Replace worn belts immediately. Tighten all screws and bolts. Loose parts can cause accidents. Inspect the lathe before each use. Make sure everything is in good condition.
Conclusion: The Joy Of Pen Turning
Pen turning offers a fulfilling and creative hobby for woodworking enthusiasts. Crafting unique, handmade pens brings immense satisfaction and joy.
The Satisfaction Of A Pen Well Made
Creating a pen by hand brings great joy. Each pen is unique and personal. Crafting these pens can be very satisfying. The smooth finish feels wonderful. Knowing you made it yourself adds pride. Friends and family will admire your work. This hobby can become a passion.
Continuing To Hone Your Craft
Practicing pen turning improves your skills. New techniques can be learned over time. Trying different woods adds variety. Tools can be upgraded for better results. Joining a pen turning group offers support. Sharing tips with others helps everyone. Keep experimenting to find your style. Each pen you make will be better than the last.
Frequently Asked Questions
What Does It Mean To Turn Pens?
Turning pens means crafting pens using a lathe. The process involves shaping and smoothing pen blanks. It’s a popular woodworking hobby.
What Rpm For Pen Turning?
For pen turning, use an RPM between 3,000 and 4,000. This speed ensures smooth cuts and a fine finish.
What Is The Pen Spin Trick Called?
The pen spin trick is called the “Pen Spinning. ” It involves twirling a pen around your fingers. This skill is popular among students and office workers.
What Is Needed To Turn Pens?
To turn pens, you need a lathe, pen blanks, turning tools, bushings, and a pen kit. Secure safety gear too.
Conclusion
Creating your own pens through pen turning offers a rewarding and creative hobby. It combines craftsmanship with personal expression. This activity can enhance your skills and provide unique, handmade gifts. Dive into pen turning and discover a fulfilling, artistic outlet that brings joy and satisfaction.
Start your pen turning journey today!