Table of Contents
Woodturning platters involve creating decorative and functional dishes from wood using a lathe. This craft combines artistry and technical skill.
Woodturning platters are a captivating blend of art and craftsmanship. Artisans use lathes to shape wood into beautiful and functional dishes, showcasing the natural beauty of the material. These platters can serve as elegant centerpieces or practical serving dishes, making them versatile additions to any home.
The process requires precision and creativity, ensuring each piece is unique. Woodturning enthusiasts often experiment with different wood types and finishes, enhancing the platter’s aesthetic appeal. Whether you’re a hobbyist or a professional, woodturning platters offer a rewarding way to express creativity and produce items that are both decorative and useful.
Introduction To Woodturning Platters
Woodturning is a fun and creative hobby. It involves shaping wood on a lathe. This craft has been around for centuries. Many people find it relaxing and rewarding. You can create bowls, vases, and platters. Platters are flat and round. They are great for serving food or as decoration. Learning woodturning takes practice. With patience, you can make beautiful pieces.
Platters are versatile and useful. They can be used at parties or family dinners. Wooden platters have a natural beauty. Each piece is unique. Making a platter helps improve your skills. You learn about symmetry and design. Woodturning platters can also be a fun gift. Friends and family will love your handmade items. Start with simple designs. As you practice, try more complex shapes.

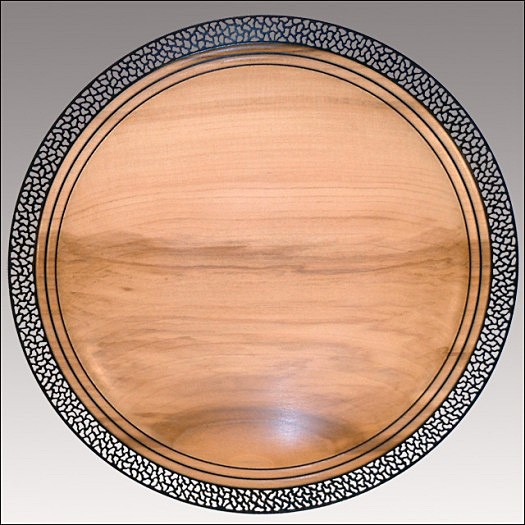
Credit: www.yvonnearlott.com
Selecting The Right Wood
Choosing the right wood ensures a successful woodturning project. Opt for hardwoods like maple or walnut for durable, stunning platters.
Types Of Wood For Platters
Choosing the right wood is very important. Some types of wood are better for platters. Maple is a great choice. It is hard and smooth. Cherry wood is another option. It has a rich color and is easy to turn. Walnut is also popular. It is dark and strong.
Characteristics To Look For
Good wood should be dry. Wet wood can crack. It should also be free of knots. Knots can make the wood weak. The grain should be tight. Loose grain can make the platter rough. Always look for smooth and even wood.
Tools And Equipment Needed
Woodturning requires specific tools. A lathe is the most important tool. It spins the wood. Gouges and chisels are used to shape the wood. Parting tools help in making precise cuts. Sanding tools smooth the surface. A caliper measures thickness. These tools make woodturning fun and easy.
Safety gear is very important. Goggles protect your eyes from dust. Gloves keep your hands safe. Dust masks prevent you from breathing in dust. Ear protection guards against loud noises. Always use a face shield for extra protection. Keep a first-aid kit nearby. Safety gear keeps you safe while working.

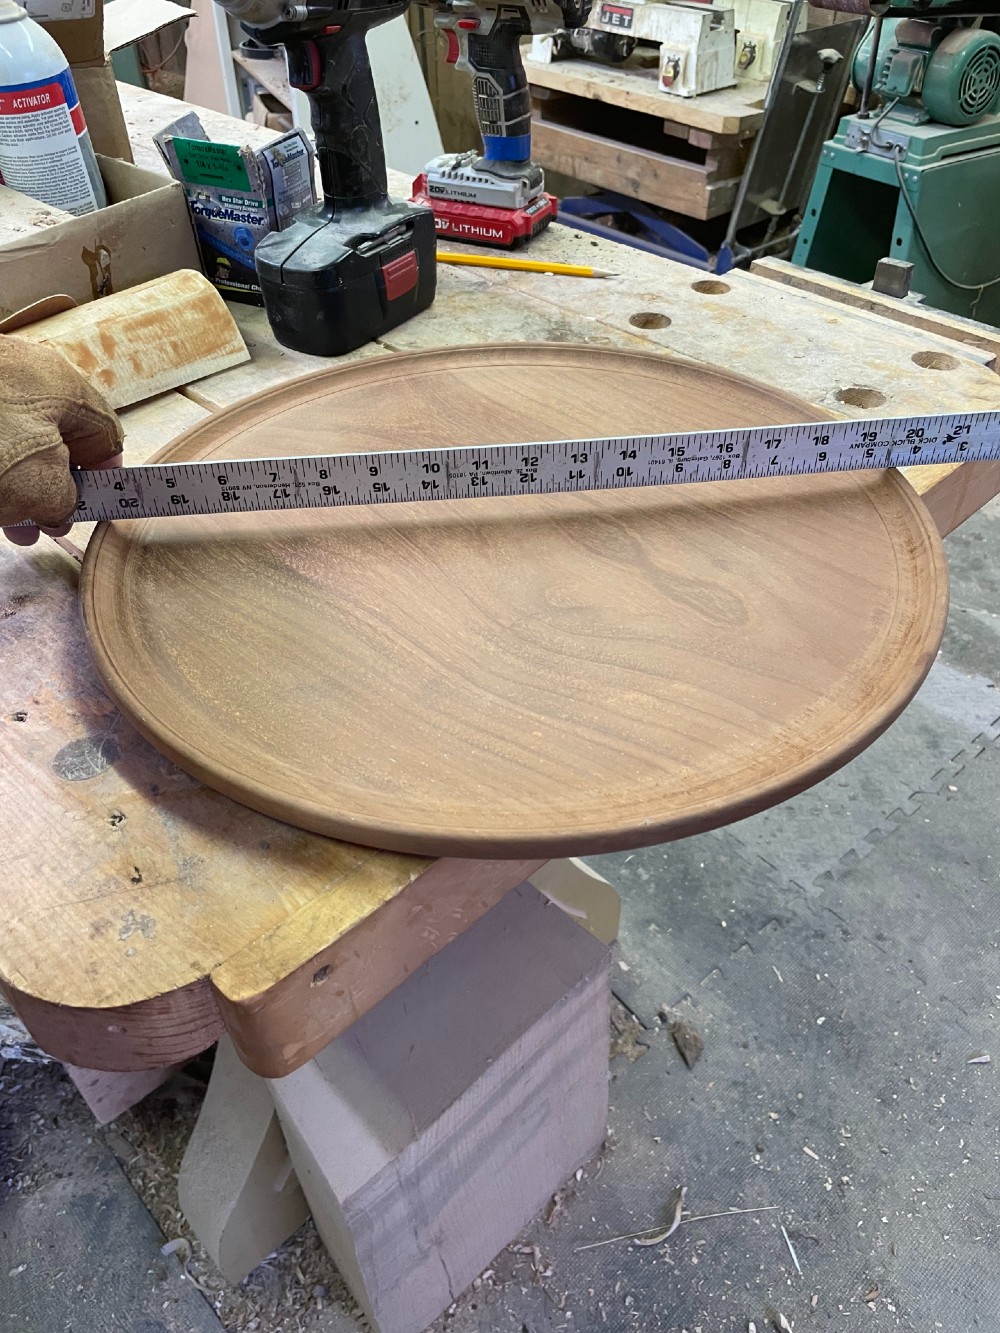
Credit: www.pinterest.com
Designing Your Platter
Start by drawing a simple sketch. Think about the shape and size of your platter. Use a pencil so you can erase any mistakes. Make sure to add all the details you want. This will help you see your final design.
Add special touches to your platter. You can include patterns or textures. Try using different tools for unique designs. Experiment with wood types for varied looks. These features make your platter stand out.
Preparing The Wood
Start with a piece of wood that is dry and free of cracks. Use a saw to cut the wood into a round shape. The size should match your lathe. Next, find the center of the wood piece. Mark it with a pencil. This helps in mounting the wood on the lathe. Attach the wood to the lathe using a faceplate or chuck. Ensure it is secure before turning on the lathe.
Turn on the lathe at a low speed. Use a roughing gouge to shape the wood. Start with simple cuts to get a smooth surface. Increase the lathe speed gradually. Use sandpaper of different grits to sand the platter. Start with coarse sandpaper and move to finer grits. Sanding makes the wood surface smooth and ready for finishing. Repeat the process until you achieve the desired shape and smoothness.
Turning Process Explained
Start by preparing the wood blank. Secure it to the lathe. Use a roughing gouge to shape the platter. Begin with slow, controlled movements. Gradually increase speed for smoother cuts. Always keep your tools sharp. Dull tools can cause tear-out. Maintain a steady hand. This ensures even pressure.
Use a bowl gouge for finishing cuts. Aim for light passes. This helps to avoid tool marks. Sand the surface with fine-grit sandpaper. Move through grits from coarse to fine. This process ensures a smooth finish. Apply a wood finish to protect the platter. Buff the surface for a shiny look. The right technique results in beautiful curves.
Finishing Touches
Sanding a wooden platter makes it smooth. Start with coarse sandpaper. Gradually use finer sandpapers. This removes rough spots. Polishing adds a shiny finish. Use a soft cloth for polishing. Rub in circular motions. This brings out the wood’s natural beauty.
Applying finishes helps protect the wood. Use varnish, oil, or wax. Each finish has its benefits. Varnish creates a hard surface. Oil soaks into the wood. Wax gives a soft shine. Always apply thin coats. Let each coat dry fully. This ensures a long-lasting finish.

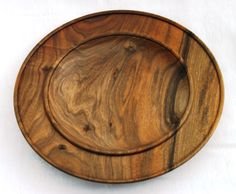
Credit: www.highlandwoodworking.com
Creative Ideas And Inspirations
Woodturning platters can be unique by mixing different materials. Try combining wood with resin for a stunning effect. Use metal inlays to add a modern touch. Experiment with different textures for a rich appearance. Sand parts for a smooth finish and leave others rough. Mix light and dark woods for contrast. Add colorful accents with paint or dyes. Be creative and explore new ideas.
| Image | Description |
|---|---|
 | This platter combines wood and resin. The blue resin creates a water-like effect. |
 | A beautiful platter with metal inlays. It adds a touch of elegance. |
 | This platter has mixed textures. Some parts are smooth, others are rough. |
Maintenance And Care
Always clean platters after each use. Use a soft, damp cloth. Avoid soaking in water to prevent wood damage. Dry thoroughly with a towel. Store in a cool, dry place. Keep away from direct sunlight. Apply food-safe oil regularly. This maintains the wood’s shine and durability. Use a cutting board for food prep. This avoids scratches on the platter.
Inspect platters for cracks or chips. Sand down rough areas gently. Use fine-grit sandpaper. Fill small cracks with wood filler. Let it dry completely. Sand the area again for smoothness. Apply a fresh coat of food-safe oil. Buff with a soft cloth. Repeat this process as needed. Seek professional help for major damage.
Frequently Asked Questions
What Is The Best Wood To Turn Bowls?
The best wood for turning bowls includes maple, cherry, and walnut. These woods offer excellent durability and beautiful grain patterns. Choose seasoned wood to avoid cracking.
What Do I Need For My Lathe To Turn Bowls?
You need a lathe, bowl gouge, faceplate or chuck, wood blanks, and safety gear to turn bowls.
Which Type Of Wood Should I Avoid In Wood Turning Work?
Avoid using softwoods like pine or spruce in wood turning. These woods can splinter and lack durability. Toxic woods like yew, oleander, and laburnum should also be avoided due to health risks. Select hardwoods like maple, oak, or cherry for better results.
What Is The Golden Ratio In Woodturning?
The golden ratio in woodturning is a design principle. It uses a ratio of 1:1. 618 to create visually appealing and balanced pieces. This ratio can guide proportions, ensuring the final product looks aesthetically pleasing. Woodturners often apply this principle to bowls, vases, and other turned objects.
Conclusion
Woodturning platters offer a blend of artistry and functionality. They enhance your space with unique, handcrafted pieces. Start your woodturning journey today and create stunning platters. Enjoy the satisfaction of crafting and the beauty of your finished work. Happy turning!
